Proxmox VE for Home Assistant
Proxmox Virtual Environment (Proxmox VE) is an open-source virtualization platform that allows you to run multiple virtual machines (VMs) and containers (LXC) on a single physical server. For Home Assistant, it represents an ideal solution if you want to run multiple services on one hardware.
Proxmox VE is a complete virtualization solution based on Debian that combines:
- KVM (Kernel-based Virtual Machine) for virtualization
- LXC (Linux Containers) for containers
- Web interface for easy management
- Backups and snapshots for data protection
- Clustering for advanced scenarios
Who is Proxmox suitable for?
Proxmox is ideal if you:
- 🚀 Want multiple services on one hardware (Home Assistant + Frigate + Plex + AdGuard...)
- 💾 Need easy backups and snapshots (restore to previous state in one minute)
- 🔧 Have basic Linux knowledge and want to learn more
- 💪 Own more powerful hardware (Mini PC, NAS, server)
- 🔬 Want to experiment without risk (test VMs, snapshots)
Proxmox is NOT suitable if you:
- ❌ Look for simple plug & play solution → use Home Assistant Green
- ❌ Have no experience with Linux → start with Raspberry Pi
- ❌ Want minimal maintenance → Proxmox requires occasional updates
- ❌ Have weaker hardware → direct HAOS installation will be more efficient
If you're interested in Proxmox for running multiple services, also consider:
- Docker Compose - simpler, less resource intensive
- Podman - alternative to Docker without root privileges
- TrueNAS SCALE - if you have NAS and want virtualization
- ESXi - commercial alternative (VMware)
Minimum hardware requirements
| Requirement | Minimum | Recommended |
|---|---|---|
| CPU | 2 cores (64-bit) | 4+ cores with virtualization |
| RAM | 4 GB | 8-16 GB |
| Storage | 32 GB | 128 GB SSD/NVMe |
| Network | 1 Ethernet port | 2 ports (service separation) |
- CPU must support virtualization (Intel VT-x / AMD-V) - almost all modern CPUs do
- RAM is shared between all VMs - count 2-4 GB for HAOS + reserve for other services
- SSD/NVMe is almost mandatory - Proxmox will be very slow on HDD
- Ethernet connection is required - WiFi adapters are problematic
Recommended hardware
Mini PC with Intel N100/N95
Most popular choice for 2025 - details in Mini PC article.
Example configuration:
- CPU: Intel N100 (4C/4T, up to 3.4 GHz)
- RAM: 16 GB DDR4
- SSD: 512 GB NVMe
- Price: ~$200-250
What can run on it:
- Home Assistant OS (2 GB RAM)
- Frigate (2-4 GB RAM, 3-5 cameras)
- AdGuard Home (512 MB RAM)
- Reserve for additional services
Used corporate mini PCs
Best value solution - more in Mini PC article.
Recommended models:
- Dell OptiPlex 3050/5050 Micro
- HP EliteDesk 800 G3 Mini
- Lenovo ThinkCentre M920q
Price: ~$100-200 refurbished
Installing Proxmox VE
1. Preparing installation USB
What you'll need:
- USB flash drive (min. 2 GB)
- Software for creating bootable USB: Rufus (Windows), Balena Etcher (all OS)
Procedure:
-
Download Proxmox VE ISO:
- Go to proxmox.com/downloads
- Download Proxmox VE ISO Installer (currently version 8.x)
-
Create bootable USB:
- Open Rufus or Balena Etcher
- Select downloaded ISO
- Select USB drive
- Click Start/Flash
All data on the USB drive will be permanently deleted. Backup important data beforehand.
2. Installing Proxmox on hardware
- Connect USB drive to computer/server
- Turn on computer and enter Boot Menu (F12, F11, F8, ESC - depends on manufacturer)
- Select USB drive from boot menu
- Wait for Proxmox installer to load
Installation wizard:
-
Accept License - accept the license
-
Target Harddisk - select disk for installation
- ⚠️ Entire disk will be erased!
- For advanced: you can select ZFS, LVM-thin (recommended: ext4 for beginners)
-
Location and Time Zone:
- Country: Your country
- Time zone: Your timezone
- Keyboard Layout: Your keyboard
-
Administration Password:
- Enter strong password for root account
- Enter email (important for notifications)
-
Network Configuration:
- Management interface: select ethernet port (usually
enp*oreth0) - Hostname (FQDN): e.g.,
pve.local(can be anything) - IP Address: recommend static IP (e.g.,
192.168.1.100/24) - Gateway: router IP address (e.g.,
192.168.1.1) - DNS Server: router IP or
8.8.8.8
- Management interface: select ethernet port (usually
-
Review and install:
- Check settings
- Click Install
- Wait 5-10 minutes
-
Restart:
- After installation remove USB drive
- Computer will restart
- Proxmox will start automatically
3. First login to Proxmox
-
Open web browser on another computer (must be on same network)
-
Enter address:
https://PROXMOX-IP-ADDRESS:8006- E.g.:
https://192.168.1.100:8006 - ⚠️ Browser will warn about certificate - this is normal, click "Advanced" → "Proceed"
- E.g.:
-
Login:
- Username:
root - Password: password you entered during installation
- Realm:
Linux PAM standard authentication
- Username:
After login you'll see a notice about missing license. This is normal - Proxmox is free, this is just a reminder about paid support. Click OK and continue using.
If this notice annoys you, you can disable it by editing one file (search Google for "proxmox remove no subscription notice").
4. Basic Proxmox configuration
System update
After first installation it's important to update Proxmox:
- In Proxmox web interface click on node (e.g.,
pve) - Open Shell (terminal)
- Run following commands:
# Add community repository (no-subscription)
echo "deb http://download.proxmox.com/debian/pve bookworm pve-no-subscription" > /etc/apt/sources.list.d/pve-community.list

# Remove enterprise repository (requires license)
rm /etc/apt/sources.list.d/pve-enterprise.list

# Update packages
apt update
apt dist-upgrade -y

# Restart (if kernel was updated)
reboot
Proxmox has two types of repositories:
- Enterprise - stable, requires paid license
- Community (no-subscription) - free, slightly less stable (but still very good)
For home use we recommend community repository.
Email notifications setup (optional)
If you want to receive emails about important events:
- Shell → enter:
apt install libsasl2-modules -y
- Configure SMTP (e.g., Gmail) - detailed guide in Proxmox documentation
Installing Home Assistant OS as VM
1. Download HAOS image
-
Open new browser tab: github.com/home-assistant/operating-system/releases
-
Find latest version (without "rc" - release candidate)
-
Download file:
haos_ova-X.X.qcow2.xz- E.g.:
haos_ova-14.2.qcow2.xz
- E.g.:
-
Extract file (Windows: 7-Zip, macOS/Linux:
unxz)- Result file:
haos_ova-X.X.qcow2
- Result file:
2. Upload image to Proxmox
Method 1: Via web interface (easier)
- In Proxmox click on node (e.g.,
pve) → local (pve) - Select ISO Images → Upload
- Select
haos_ova-X.X.qcow2file → Upload
Method 2: Via SCP/SFTP (faster for large files)
# From your computer (Linux/macOS)
scp haos_ova-14.2.qcow2 root@PROXMOX-IP:/var/lib/vz/template/iso/
3. Creating VM for Home Assistant
- Create VM (top right corner)
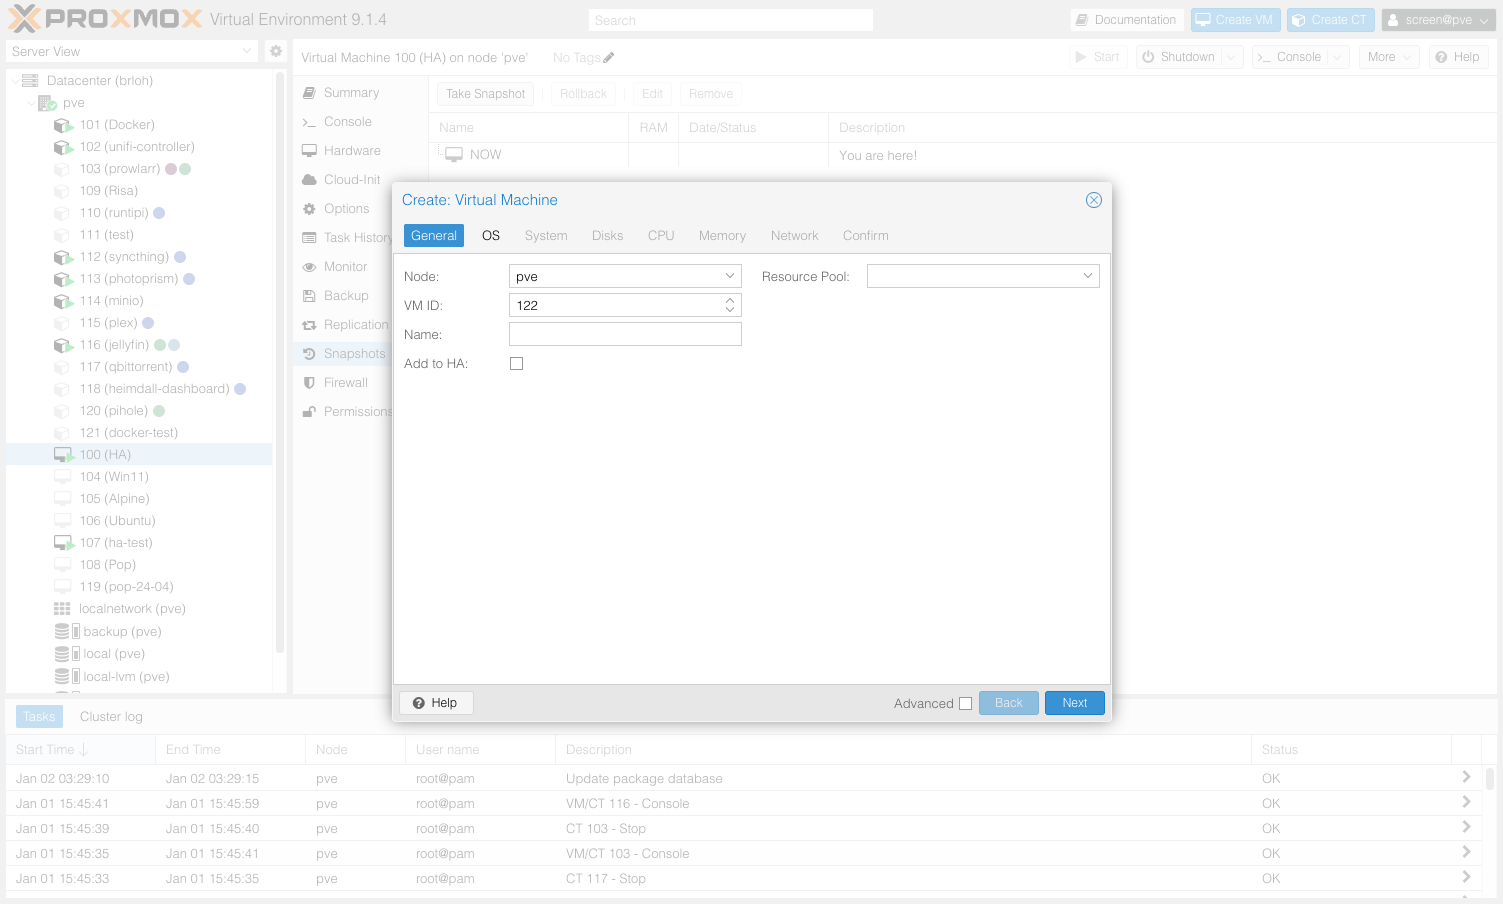
General:
- Node: select your node
- VM ID: leave automatic (e.g., 100)
- Name:
home-assistant(or anything)
OS:
- Use CD/DVD disc image file (iso): TURN OFF (we won't use it)
- Guest OS Type:
Linux - Kernel:
6.x - 2.6 Kernel
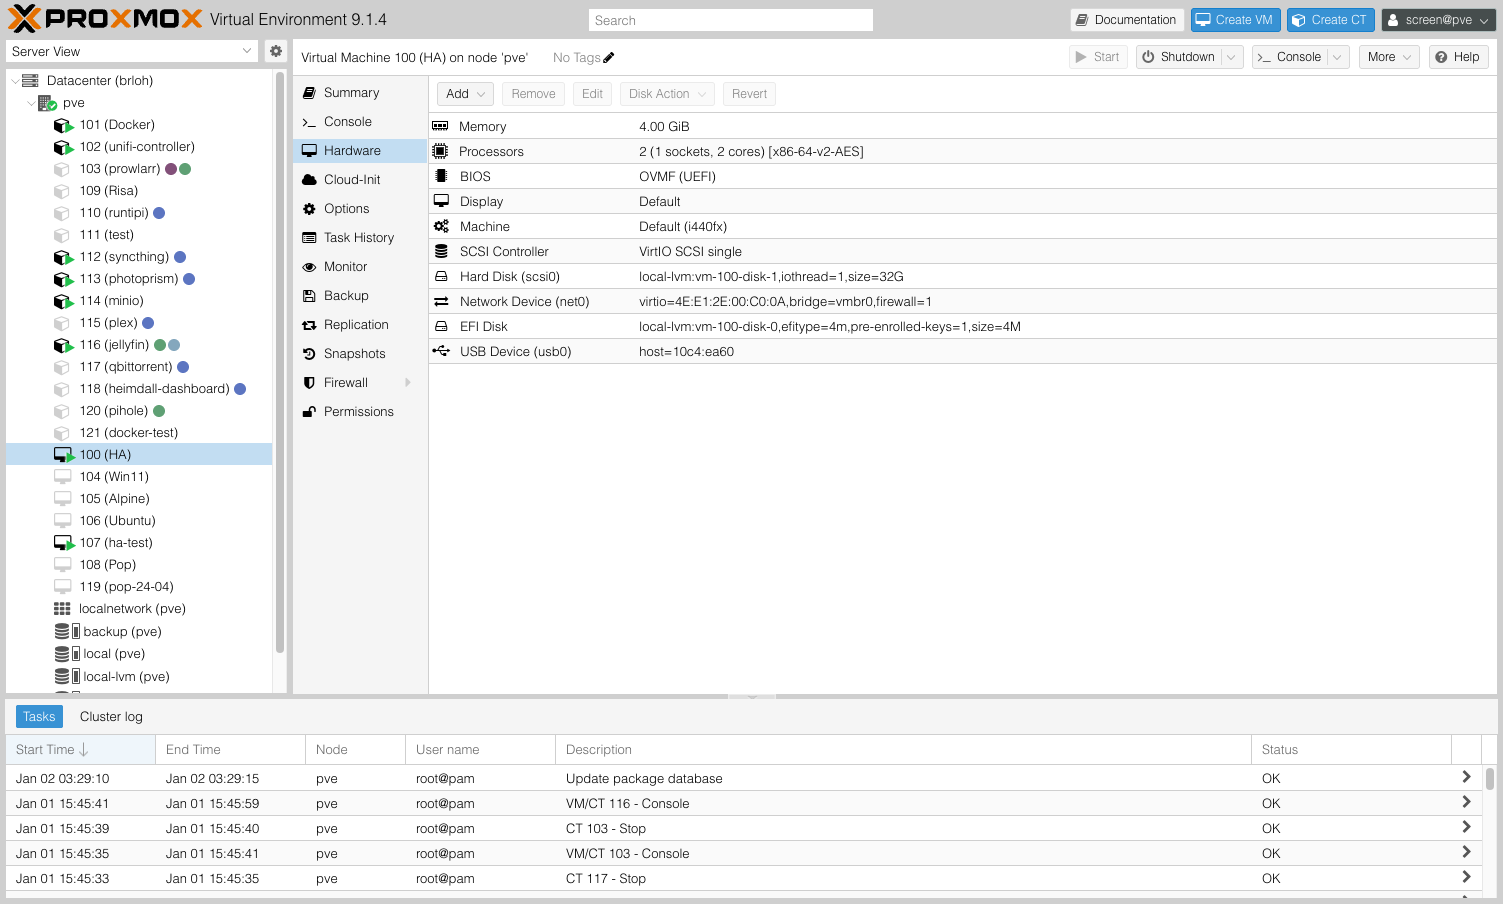
System:
- Graphic card:
Default - Machine:
q35 - BIOS:
OVMF (UEFI) - Add EFI Disk: ✅ TURN ON
- SCSI Controller:
VirtIO SCSI single - Qemu Agent: ✅ TURN ON (important for integration)
Disks:
- Click "Delete" - we'll add disk manually later
CPU:
- Cores:
2(enough for start, can increase later) - Type:
host(best performance)
Memory:
- Memory (MiB):
4096(4 GB - minimum, recommended 6-8 GB) - Ballooning Device: ✅ TURN OFF (HAOS has problems with it)
Network:
- Bridge:
vmbr0 - Model:
VirtIO (paravirtualized) - Firewall: ✅ (optional)
Confirm:
- Start after created: TURN OFF (we'll attach disk first)
- Click Finish
4. Import HAOS disk to VM
- In Proxmox open Shell
- Run following commands:
# Replace numbers with your values
VM_ID=100  # Your VM ID
STORAGE=local-lvm  # Storage (usually local-lvm or local)

# Import HAOS disk
qm importdisk $VM_ID /var/lib/vz/template/iso/haos_ova-14.2.qcow2 $STORAGE

# Command will output something like: "Successfully imported disk as 'unused0:local-lvm:vm-100-disk-0'"
-
Attach disk to VM:
- Click on VM (e.g.,
100 (home-assistant)) - Open Hardware
- Find Unused Disk 0
- Double-click or Edit
- Add: click OK
- Click on VM (e.g.,
-
Set disk as bootable:
- In Hardware → click on newly added disk (e.g.,
scsi0) - Remember the number (
scsi0) - Open Options → Boot Order
- Enable the disk you added
- Move it to first position
- OK
- In Hardware → click on newly added disk (e.g.,
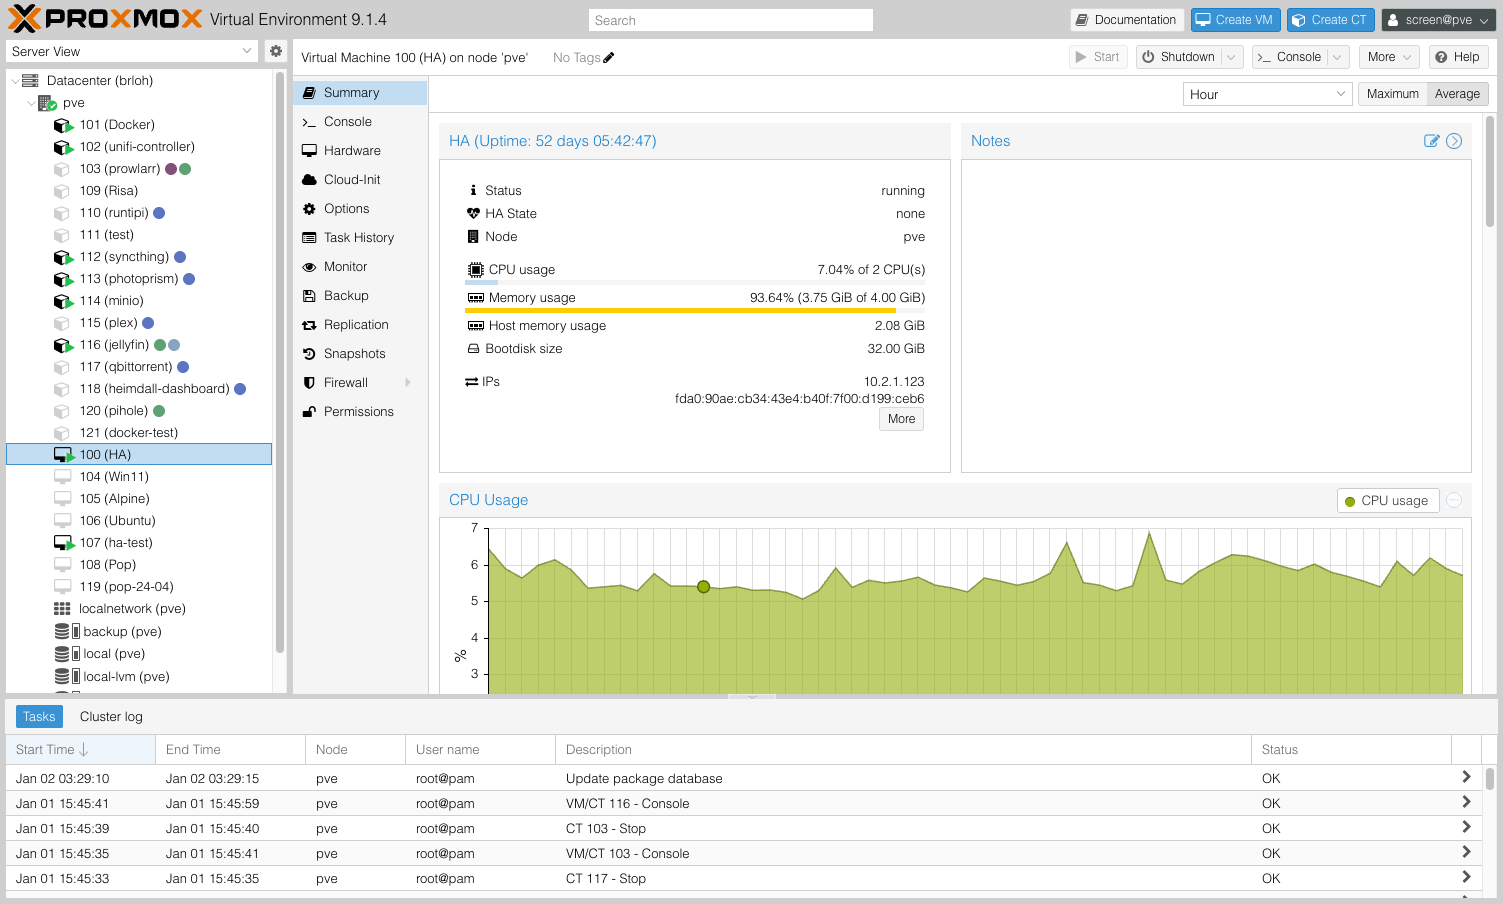
5. Starting Home Assistant VM
- Select VM → click Start
- Open Console (monitor boot process)
- Wait 5-10 minutes - HAOS installs and downloads latest version
Home Assistant OS:
- Boots from downloaded image
- Downloads latest Home Assistant version (takes 5-10 min)
- Automatically starts web interface on port 8123
-
Open Home Assistant:
- URL:
http://VM-IP-ADDRESS:8123 - Find IP address in VM console or Proxmox (Summary → IPs)
- Or use:
http://homeassistant.local:8123(if mDNS works)
- URL:
-
Complete Home Assistant installation:
- Create account
- Set location
- Select devices to integrate
USB Passthrough - Zigbee/Z-Wave/Bluetooth adapters
If you want to use USB Zigbee/Z-Wave/Bluetooth adapters in Home Assistant, you must passthrough them to the VM.
1. Enable IOMMU (Intel) or AMD-Vi (AMD)
This step is essential for USB passthrough. Without IOMMU it won't work!
For Intel CPUs:
- Open Proxmox Shell
- Edit GRUB configuration:
nano /etc/default/grub
- Find line:
GRUB_CMDLINE_LINUX_DEFAULT="quiet" - Change to:
GRUB_CMDLINE_LINUX_DEFAULT="quiet intel_iommu=on" - Save (Ctrl+O, Enter, Ctrl+X)
For AMD CPUs:
nano /etc/default/grub
Change to: GRUB_CMDLINE_LINUX_DEFAULT="quiet amd_iommu=on"
Apply changes:
# Update GRUB
update-grub

# Restart Proxmox
reboot
2. Load VFIO modules
After restart:
# Open modules configuration
nano /etc/modules

# Add these lines (if not already there):
vfio
vfio_iommu_type1
vfio_pci
vfio_virqfd
Save (Ctrl+O, Enter, Ctrl+X) and restart:
reboot
3. Verify IOMMU is working
dmesg | grep -e DMAR -e IOMMU
You should see something like:
DMAR: IOMMU enabled
If you see nothing, check:
- CPU supports virtualization (Intel VT-d / AMD-Vi)
- Virtualization is enabled in BIOS
4. Identify USB devices
lsusb
Output will look like:
Bus 001 Device 003: ID 10c4:ea60 Silicon Labs CP210x UART Bridge
Bus 001 Device 002: ID 0bda:8153 Realtek Semiconductor Corp. RTL8153 Gigabit Ethernet Adapter
Note down:
- Bus number (001)
- Device number (003)
- Vendor:Product ID (10c4:ea60)
5. Add USB to VM
Method 1: Via web interface (recommended)
- Select VM → Hardware → Add → USB Device
- Select Use USB Vendor/Device ID
- Enter Vendor ID and Product ID (e.g.,
10c4:ea60) - USB3: TURN OFF (Zigbee/Z-Wave adapters are USB 2.0)
- Click Add
Method 2: Via command line
# Replace values
VM_ID=100
VENDOR_ID=10c4
PRODUCT_ID=ea60

qm set $VM_ID -usb0 host=$VENDOR_ID:$PRODUCT_ID
6. Restart VM and verify
# Restart VM
qm stop $VM_ID
qm start $VM_ID
In Home Assistant:
- Open Settings → System → Hardware
- You should see your USB adapter (e.g.,
/dev/ttyUSB0)
- Home Assistant Connect ZBT-2 - Zigbee + Thread (official)
- Sonoff Zigbee 3.0 USB Dongle Plus - popular Zigbee adapter
- SONOFF Zigbee 3.0 USB Dongle Plus-E (ZBDongle-E) - Zigbee with external antenna
More in Recommended Zigbee hardware article.
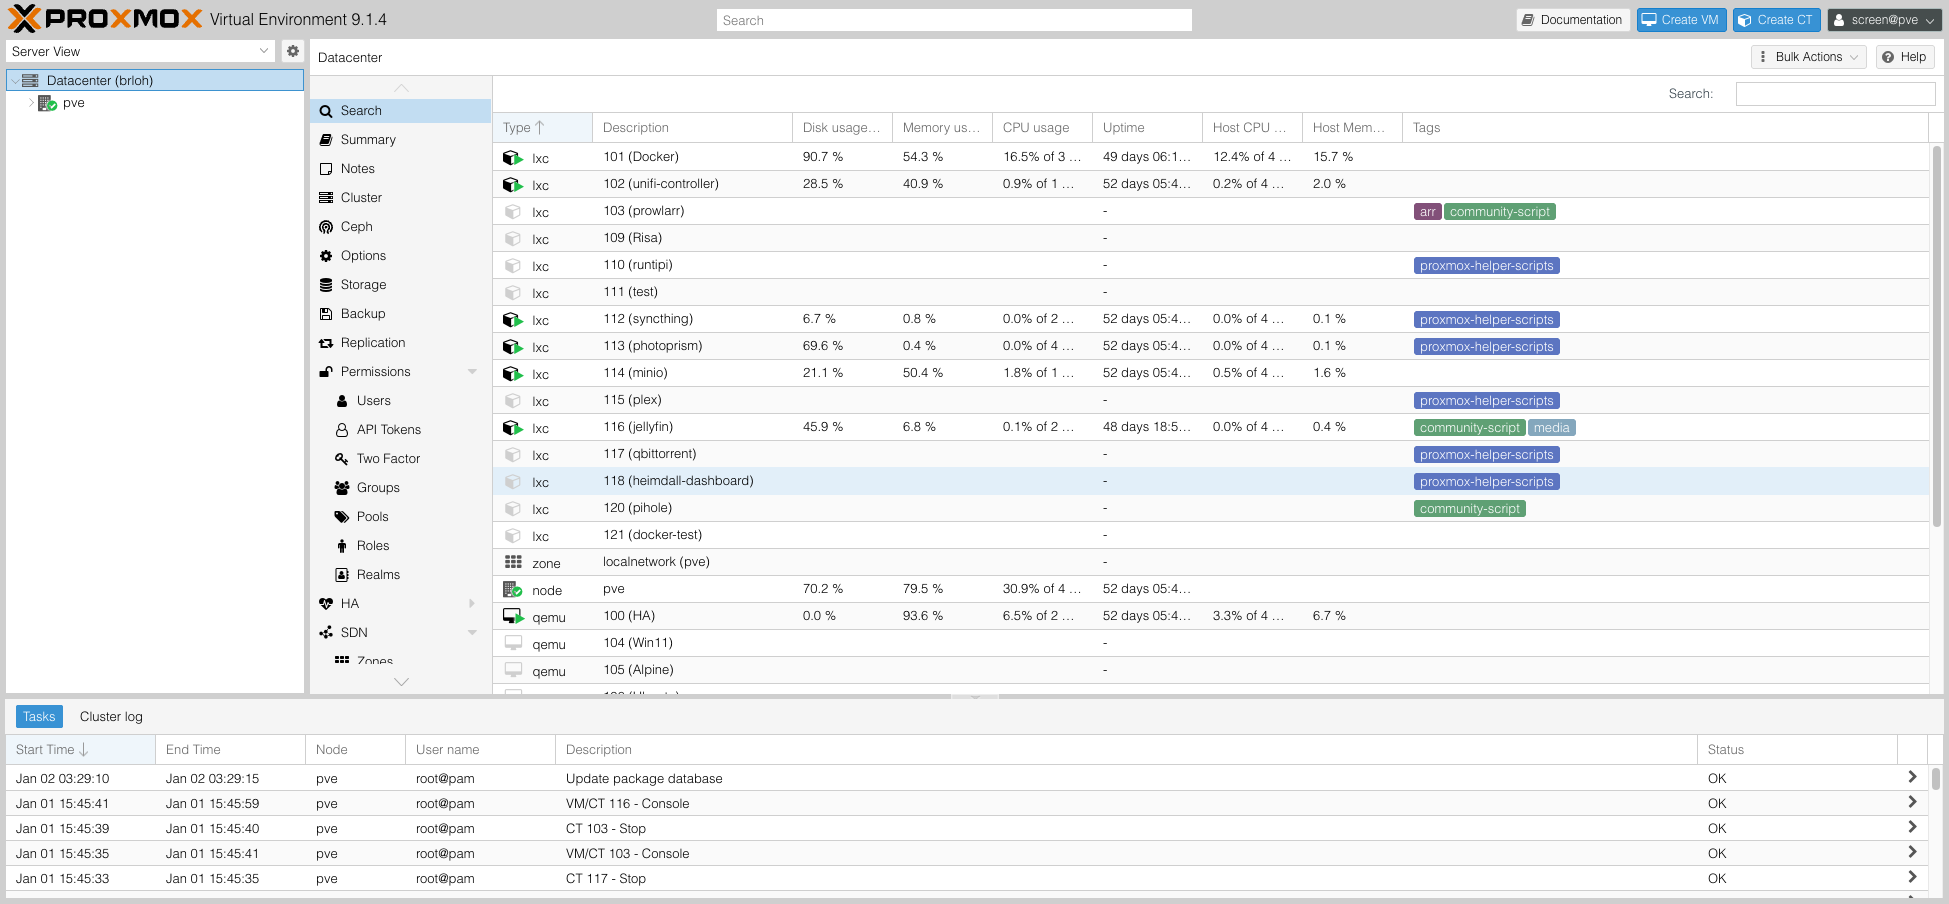
Additional services in Proxmox
Besides Home Assistant you can run many other services on Proxmox.
Popular services for smart home
1. Frigate (AI object detection on cameras)
What is Frigate?
- AI detection system for people, animals, vehicles on cameras
- Integrates with Home Assistant
- Requires good performance (that's why ideal on Proxmox)
Installation options:
- LXC container (most efficient, low overhead)
- Docker VM (easier management)
- Standalone VM with Debian + Docker
Recommended resources:
- RAM: 2-4 GB (depends on camera count)
- CPU: 2-4 cores with HW acceleration (Intel Quick Sync)
Links:
- Official Frigate Documentation
- Tteck's Helper Script (see below)
2. AdGuard Home / Pi-hole (DNS filtering)
What does it do?
- Ad blocking on entire network
- DNS server with filtering
- Parental control
Installation options:
- LXC container (recommended)
- Docker in VM
- Add-on in Home Assistant (less efficient)
Recommended resources:
- RAM: 512 MB - 1 GB
- CPU: 1 core
3. Plex / Jellyfin (Media server)
What does it do?
- Streaming movies, series, music
- Similar to Netflix but for your own files
Installation options:
- VM with Ubuntu/Debian + Docker
- TrueNAS SCALE (if you have NAS)
Recommended resources:
- RAM: 4-8 GB
- CPU: 4+ cores (for HW transcoding)
4. Other useful services
- NGINX Proxy Manager - reverse proxy for easy service access
- Uptime Kuma - service availability monitoring
- Vaultwarden - password manager (self-hosted Bitwarden)
- Nextcloud - personal cloud storage
- Node-RED - alternative to HA automations
VM vs LXC container - when to use what?
| Property | VM (Virtual Machine) | LXC Container |
|---|---|---|
| Overhead | Higher (separate kernel) | Low (shared kernel) |
| Performance | 90-95% native | 99% native |
| RAM usage | Higher | Lower (by 50-70%) |
| Boot time | 30-60 seconds | 2-5 seconds |
| Compatibility | All OS | Linux only |
| USB passthrough | Easier | More complex |
| Snapshot/backup | Yes | Yes |
Recommendation:
- VM: Home Assistant, Windows, services requiring USB/GPU
- LXC: AdGuard Home, Docker, Frigate, lightweight services
Tteck's Community Scripts
Tteck's Helper Scripts (formerly Proxmox VE Helper Scripts) are community scripts for automatic installation of popular services in Proxmox.
These scripts download and execute code from internet. Use them only from official source and at your own risk. We recommend before using:
- Read the script (
curl -s URL | less) - Understand what it does
- Have current backups
What do they offer?
Automatic installation of:
- Home Assistant OS VM
- Frigate LXC
- AdGuard Home LXC
- Node-RED LXC
- Plex LXC
- Zigbee2MQTT LXC
- And dozens more...
How to use?
- Open Proxmox Shell
- Run:
bash -c "$(wget -qLO - https://github.com/tteck/Proxmox/raw/main/misc/post-pve-install.sh)"
- Follow on-screen instructions
For specific service installation:
Visit: tteck.github.io/Proxmox/
If Tteck's scripts seem unsafe (understandable), you can install all services manually:
- Create LXC container
- Install Docker
- Run Docker Compose
Takes longer but you have full control.
Backups and Snapshots
One of biggest Proxmox advantages is easy backup.
Snapshots (quick backup)
What is snapshot?
- Instant snapshot of VM/LXC state
- Quick creation (few seconds)
- Fast restore (few clicks)
- Stores only differences (low disk usage)
When to use snapshots?
- ✅ Before Home Assistant update
- ✅ Before installing new add-on
- ✅ Before configuration change
- ✅ Before experimenting
How to create snapshot:
- Select VM/LXC → Snapshots
- Take Snapshot
- Enter Name (e.g.,
before-update-2025-01) - Include RAM: TURN OFF (not necessary, takes more space)
- Click Take Snapshot

How to restore snapshot:
- Stop VM/LXC
- Select snapshot → Rollback
- Confirm
- Start VM/LXC
Snapshots are dependent on original disk. If disk fails, you lose snapshots too. For real backups use Backup (see below).
Backup (real backup)
Backup vs Snapshot:
- Snapshot = quick snapshot (not independent)
- Backup = standalone file (portable, independent)
How to create backup:
-
Select VM/LXC → Backup
-
Backup now
-
Mode:
Snapshot- fastest, VM runs (recommended)Suspend- VM pauses brieflyStop- VM shuts down
-
Compression:
ZSTD(fast + good ratio) -
Click Backup
Automatic backups:
-
Datacenter → Backup
-
Add
-
Set:
- Node: your node
- Storage: where to save backups (ideally external disk/NAS)
- Schedule: e.g.,
daily at 02:00 - Selection mode: select VM/LXC to backup
- Retention: how many backups to keep (e.g.,
Keep last: 7)
-
Create

Professional backups according to 3-2-1 rule:
- 3 data copies (original + 2 backups)
- 2 different media (SSD + HDD, NAS + USB)
- 1 off-site copy (cloud, different location)
For Home Assistant:
- Proxmox automatic backups → external USB disk (weekly)
- HA own backups → Google Drive / NAS (daily)
- Important configs → GitHub / GitLab (on changes)
Performance optimization
CPU Pinning
What is CPU pinning?
- Reservation of specific CPU cores only for VM
- Higher performance, lower latency
- Recommended for Home Assistant and Frigate
How to set:
- Select VM → Hardware → Processors → Edit
- Expand Advanced
- CPU units:
1024(priority, higher = better) - CPU limit: leave empty
- Extra CPU Flags:
- For Intel:
+pdpe1gb - For AMD:
+svm,+pdpe1gb
- For Intel:
For advanced (manual pinning):
# VM with ID 100, assign CPU cores 0,1
qm set 100 -affinity 0,1
Ballooning (Memory Management)
What is ballooning?
- Proxmox can dynamically allocate RAM between VMs
- Problem: HAOS has poor support
Recommendation:
- Turn off ballooning for Home Assistant VM (see installation instructions above)
- For other VMs/LXC you can leave enabled
Disk I/O optimization
For SSD/NVMe:
- Select VM → Hardware → Hard Disk → Edit
- Set:
- Cache:
Write back - Discard: ✅ TURN ON
- SSD emulation: ✅ TURN ON (if physical disk is SSD)
- IO thread: ✅ TURN ON
- Cache:
For HDD:
- Cache:
Write through - Rest same
Monitoring and maintenance
Web interface - overview
Dashboard (Summary):
- CPU, RAM, storage usage
- Uptime
- Proxmox version
Resources:
- VM: list of all virtual machines
- LXC: list of all containers
- Storage: available storage
Logs:
- System logs (syslog)
- Task history
Regular maintenance
Every month:
-
Update Proxmox:
apt update && apt dist-upgrade -y -
Check backups:
- Datacenter → Backup → verify they ran successfully
-
Clean old snapshots:
- Delete old unnecessary snapshots (take space)
Every 3-6 months:
- Test restore from backup
- Check SMART disk status:
smartctl -a /dev/sda
Resource monitoring
In Proxmox:
- Dashboard shows current usage
- You can add metrics graphs (RRD statistics)
In Home Assistant:
- Install System Monitor integration
- Adds sensors for CPU, RAM, disk
- Create dashboard with graphs
Uptime Kuma (recommended):
- Standalone monitoring service
- Checks availability of all services
- Sends notification if something fails
Troubleshooting
Home Assistant VM won't start
Check:
- Boot order - disk must be first
- EFI disk - must be present
- Logs - Console shows errors
Solution:
- Try creating VM again following instructions above
- Use Tteck's script as alternative
USB passthrough not working
Check:
-
IOMMU is active:
dmesg | grep -e DMAR -e IOMMU -
VFIO modules loaded:
lsmod | grep vfio -
USB device visible:
lsusb
Solution:
- Restart Proxmox
- Try different USB port
- Use USB Vendor/Product ID instead of Bus/Device (more stable)
VM is slow
Possible causes:
- Not enough RAM - add more
- HDD instead of SSD - upgrade to SSD
- Ballooning enabled - turn off for HAOS
- Cache settings - use
Write backfor SSD
Proxmox has no internet access
Check:
-
IP configuration:
ip addr show
ip route show -
DNS:
cat /etc/resolv.conf
ping 8.8.8.8
ping google.com
Solution:
- Double-check network settings in
/etc/network/interfaces - Restart network:
systemctl restart networking
Frequently Asked Questions
Is Proxmox free?
Yes! Proxmox VE is open-source and completely free for home and commercial use.
You only pay for:
- Enterprise Subscription - paid support and more stable repository (optional, €100+/year/server)
- For home use you DON'T NEED IT - use community repository (see installation instructions)
How many VMs/LXC can I run?
Depends on hardware:
-
Mini PC with Intel N100 (16 GB RAM):
- Home Assistant (2-4 GB RAM)
- Frigate 3 cameras (2 GB RAM)
- AdGuard Home (512 MB RAM)
- Plex (4 GB RAM)
- Other lightweight LXC...
-
General rule:
- 1 GB RAM for Proxmox
- Divide rest between VMs/LXC
- Keep 10-20% reserve
Can I use Proxmox on Raspberry Pi?
Unfortunately no. Proxmox VE requires x86-64 architecture (Intel/AMD CPU).
Alternatives for ARM:
- Multipass (Ubuntu)
- LXD/LXC natively
- Docker Compose (easiest)
Is Proxmox heavy on maintenance?
Depends on your experience:
- Beginners: Requires learning (Linux, virtualization)
- Advanced: Very convenient solution
- Maintenance: ~1 hour monthly (updates, backup checks)
If you want zero-maintenance:
- Use Home Assistant Green
- Or direct HAOS installation on Raspberry Pi
Proxmox vs ESXi?
| Property | Proxmox VE | VMware ESXi |
|---|---|---|
| License | Open-source (GPLv3) | Commercial (free tier limited) |
| Price | Free | Free tier / $200-$6000+ |
| Web UI | Yes | Yes (requires vCenter for advanced) |
| LXC containers | Yes | No |
| Community | Large (open-source) | Smaller (enterprise) |
| Documentation | Good | Excellent (professional) |
| Home use | Ideal | Unnecessarily complex |
Recommendation: For home use Proxmox is clearly better choice.
Can I move VM between Proxmox servers?
Yes! Several ways:
-
Backup & Restore:
- Create backup
- Copy to second server
- Restore from backup
-
Migration (cluster):
- If you have Proxmox cluster
- Live migration (without VM shutdown)
-
Export/Import disk:
# Export from first server
qm stop 100
qm disk export 100 scsi0 /tmp/disk.qcow2

# Import on second server
qm importdisk 101 /tmp/disk.qcow2 local-lvm
Can I use GPU in VM?
Yes! Via GPU passthrough (similar to USB passthrough).
Requirements:
- Two GPUs (one for Proxmox host, one for VM) OR
- iGPU + dGPU (integrated + dedicated) OR
- GPU with SR-IOV support (rare)
Use cases:
- Frigate with GPU acceleration
- Plex transcoding
- Gaming VM (GPU passthrough for Windows VM)
Guide: Too complex for this article - find detailed guides online.
Summary - When to use Proxmox?
Proxmox is ideal for
- ✅ Multiple services on one hardware (Home Assistant + Frigate + Plex...)
- ✅ Easy backups and recovery (snapshots in seconds)
- ✅ Experimenting without risk (test VMs, snapshots before changes)
- ✅ Efficient use of powerful HW (multiple VMs/LXC on one machine)
- ✅ Centralized management (all services in one place)
- ✅ Learning and development (great platform for learning virtualization)
Related articles
Hardware
- Hardware selection for Home Assistant - complete guide
- Mini PC and general x86 hardware - recommended HW for Proxmox
- Home Assistant Green - plug & play alternative
- Raspberry Pi 5/4/3 - simpler solution
- NAS Synology - Docker on NAS
Installation and configuration
- Backups and restore - how to backup properly
- Remote access - external access
Zigbee/Z-Wave/Bluetooth
- Home Assistant Connect ZBT-2 - official adapter
- Zigbee in Home Assistant - Introduction
- Recommended Zigbee hardware
- ZHA (Zigbee Home Automation)
- Zigbee2MQTT
External resources
- Proxmox VE Documentation - official documentation
- Proxmox VE Forum - community forum
- Tteck's Proxmox Scripts - helper scripts
- r/Proxmox - Reddit community
- Home Assistant Community - official forum