Tasmota - Alternative Firmware for ESP Devices
Tasmota is open-source firmware for ESP8266, ESP8285, ESP32, and other ESP chips that enables full local control over your smart devices. Unlike factory firmware that often requires cloud services, Tasmota works completely locally and communicates primarily via MQTT.
What is Tasmota
Tasmota is firmware that:
- ✅ Total local control - no cloud dependency
- ✅ MQTT communication - standard IoT protocol
- ✅ Web UI - control via browser
- ✅ OTA updates - wireless firmware uploads
- ✅ Timers and rules - on-device automation
- ✅ Integrations - Home Assistant, Domoticz, openHAB...
- ❌ No need for manufacturer's cloud
- ❌ No need for mobile app
- ❌ No need for internet (after setup)
- ❌ No need for programming
Main difference: Tasmota uses pre-built firmware with web UI configuration, while ESPHome requires YAML configuration and compilation for each device. Tasmota is simpler for beginners, ESPHome offers more flexibility.
Supported Chips
Tasmota supports a wide range of ESP chips:
| Chip | Description | Recommendation |
|---|---|---|
| ESP8266 | 80 MHz, 80KB RAM | For simple projects |
| ESP8285 | ESP8266 with integrated flash | Compact devices |
| ESP32 | Dual-core, WiFi + Bluetooth | Recommended for new projects |
| ESP32-S2/S3 | New ESP32 generations | Advanced features |
| ESP32-C3/C5 | RISC-V architecture | New projects |
For new projects, I recommend ESP32 - it has more memory, better performance, and supports Bluetooth.
What You'll Need
Hardware
For flashing:
- ESP8266/ESP32 device
- USB-TTL adapter (CH340G or CP2102)
- Jumper wires
- USB cable
For operation:
- WiFi network (2.4 GHz)
- MQTT broker (e.g., Mosquitto)
- Home Assistant (optional)

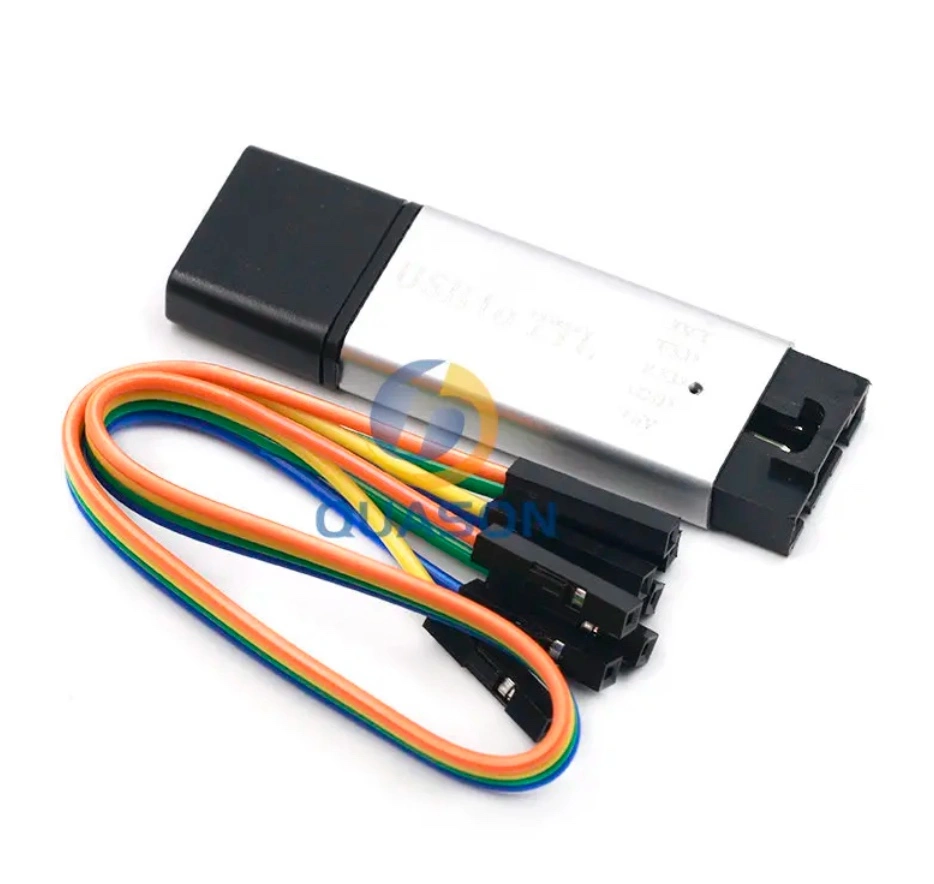
CP2102 USB 2.0 to TTL UART Module
USB to UART TTL serial converter for firmware upload via USB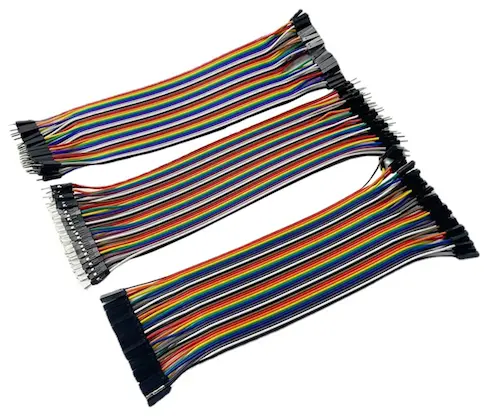
Dupont cables 10cm / 20cm / 30cm - male / female
Jumper wiresNEVER flash a device connected to 230V! You can destroy the device, adapter, and computer, or even get electrocuted!
Installing Tasmota - Web Installer
The easiest way to install Tasmota is using the web installer:
Step 1: Connecting the Device
- Connect ESP device to computer using USB-TTL adapter
- Wire the pins:
- 3V3 → 3V3 (or VCC)
- TX → RX
- RX → TX
- GND → GND
TX from adapter goes to RX on device and vice versa!
Step 2: Entering Boot Mode
- Disconnect power
- Connect GPIO0 to GND (press button or bridge with wire)
- Connect power
- After 2 seconds disconnect GPIO0 from GND
The device is now in boot mode and ready for flashing.
Step 3: Web Flashing
- Open Chrome or Edge browser
- Go to https://tasmota.github.io/install/
- Click "CONNECT"
- Select your serial port
- Choose firmware version (usually "Tasmota" to start)
- Click "INSTALL"
- Wait for completion (2-5 minutes)
- Tasmota - basic version for most uses
- Tasmota-sensors - support for many sensors
- Tasmota-lite - lightweight version for ESP8266 with low memory
Step 4: WiFi Configuration
After successful flashing:
- Installer will automatically scan WiFi networks
- Select your network from dropdown
- Enter password
- Click "CONTINUE"
- After connection, click "VISIT DEVICE"
Tasmota web UI will open!
Configuring Tasmota
First Launch - WebUI
Upon first access to Tasmota web UI:
-
Configuration → Configure Other
- Set Device Name (e.g., "Living-room-light")
- Check Web Admin Password and set password
-
Configuration → Configure Template
- Select correct module/template for your device
- Or use template from templates.blakadder.com
Templates are pre-configured pin settings for specific devices. They'll save you hours of testing!
MQTT Setup
MQTT is key for Home Assistant integration:
-
Configuration → Configure MQTT
-
Fill in:
- Host: IP address of your MQTT broker
- Port: 1883 (default)
- User: username (if you have one)
- Password: password (if you have one)
- Topic: %topic% (or custom name)
- Full Topic: %prefix%/%topic%/
-
Click Save
If you don't have an MQTT broker yet, you can install the Mosquitto addon in Home Assistant.
Basic Commands
Tasmota is controlled via console (in WebUI: Console) or MQTT:
# Turn relay on/off
Power ON
Power OFF
Power TOGGLE

# Set timer
Timer1 {"Enable":1,"Mode":0,"Time":"07:00","Window":0,"Days":"1111100","Repeat":1,"Output":1,"Action":1}

# Restart device
Restart 1

# Check status
Status 0
Integration with Home Assistant
Tasmota can be integrated into Home Assistant in several ways:
Automatic Discovery
If you have MQTT properly configured in Tasmota and working MQTT integration in Home Assistant, devices should automatically appear:
- Go to Settings → Devices & Services
- Your Tasmota device should be in Discovered section
- Click Configure
- Confirm addition
Manual Configuration (YAML)
You can also add Tasmota devices manually in configuration.yaml:
# Example: Switch
switch:
  - platform: mqtt
    name: "Living Room Light"
    command_topic: "cmnd/living-room-light/POWER"
    state_topic: "stat/living-room-light/POWER"
    payload_on: "ON"
    payload_off: "OFF"

# Example: Temperature sensor
sensor:
  - platform: mqtt
    name: "Living Room Temperature"
    state_topic: "tele/living-room-sensor/SENSOR"
    value_template: "{{ value_json.DS18B20.Temperature }}"
    unit_of_measurement: "°C"
Tasmota Integration
Home Assistant has a dedicated Tasmota integration:
- Settings → Devices & Services
- Add Integration
- Search for "Tasmota"
- Select Discovery or Manual
Advanced Features
Rules
Tasmota allows on-device automations:
# Example: Toggle light on button press
Rule1 ON Button1#State DO Power TOGGLE ENDON

# Activate rule
Rule1 1
Timers
Setting up time switches:
# Turn on every day at 7:00
Timer1 {"Enable":1,"Mode":0,"Time":"07:00","Window":0,"Days":"1111111","Repeat":1,"Output":1,"Action":1}

# Turn off every day at 22:00
Timer2 {"Enable":1,"Mode":0,"Time":"22:00","Window":0,"Days":"1111111","Repeat":1,"Output":1,"Action":0}
Scripting
For advanced users, Tasmota supports Berry scripting:
# Example Berry script
def my_button_pressed()
  tasmota.set_power(0, !tasmota.get_power()[0])
end

tasmota.add_rule("Button1#State", my_button_pressed)
Firmware Updates
OTA Update via WebUI
- In Tasmota WebUI, go to Firmware Upgrade
- Enter firmware URL or use "Upgrade by file upload"
- For official firmware use:
http://ota.tasmota.com/tasmota/release/tasmota.bin - Click Start Upgrade
If you don't have enough space for direct update, flash tasmota-minimal.bin first, then target firmware.
OTA Update via MQTT
# Set OTA server
OtaUrl http://ota.tasmota.com/tasmota/release/tasmota.bin

# Start upgrade
Upgrade 1
Popular Tasmota Devices
Sonoff Devices
Sonoff is the most well-known manufacturer of ESP8266 devices compatible with Tasmota:
- Sonoff Basic - simple WiFi switch
- Sonoff Pow - switch with power monitoring
- Sonoff TH - switch with temperature sensor
- Sonoff RF Bridge - RF 433MHz bridge
Shelly Devices
Shelly devices are also based on ESP chips:
- Shelly 1 - compact WiFi relay
- Shelly 2.5 - dual relay or shutter control
- Shelly Plug - smart plug
Flashing custom firmware usually voids manufacturer's warranty!
Templates - Device Database
The largest Tasmota templates database can be found at templates.blakadder.com.
Using Templates
- Find your device on the website
- Copy the Template code
- In Tasmota WebUI:
- Configuration → Configure Other
- Paste template into Template field
- Check Activate
- Save
Troubleshooting
Device Not Appearing in WiFi
- Check that you flashed correctly
- Factory reset: Hold button for 40 seconds
- Try different USB-TTL adapter
MQTT Not Working
- Check MQTT broker IP and port
- Check username and password
- In console check:
Status 6for MQTT status
OTA Update Fails
- Not enough space - flash minimal firmware
- Poor WiFi - move device closer to router
- Wrong URL - verify address correctness
Evaluation
After years of using Tasmota, I can say it's solid and stable firmware for ESP devices.
✅ Main Advantages
- Simple configuration - web UI
- Stable - proven by millions of users
- MQTT standard - wide compatibility
- Huge database of devices and templates
- Active community - quick help
- Local control - no cloud
- OTA updates - easy updates
⚠️ What Could Be Better
- MQTT is necessity - limited without it
- Less flexible than ESPHome
- First flashing requires USB
- Console commands can be confusing
Recommendation
I recommend Tasmota if you:
- ✅ Have or want MQTT broker
- ✅ Prefer ready firmware over compilation
- ✅ Have Sonoff or Shelly devices
- ✅ Want stable and proven solution
- ✅ Appreciate local control
I don't recommend if you:
- ❌ Don't want to use MQTT
- ❌ Need very specific configuration (consider ESPHome)
- ❌ Are absolute beginner (start with ready-made Zigbee devices)
Tasmota vs ESPHome - Comparison
| Feature | Tasmota | ESPHome |
|---|---|---|
| Configuration | Web UI | YAML file |
| Compilation | No | Yes (per device) |
| Communication | Primarily MQTT | Primarily API |
| Flexibility | Medium | High |
| For beginners | ✅ Easier | ⚠️ More complex |
| Home Assistant | Via MQTT or integration | Native integration |
| Automation | Rules, Timers | On-device automations |
| Updates | OTA via web/MQTT | OTA via HA/ESPHome |
Related Articles
- ESPHome - Smart Device from ESP32 in Minutes
- Bluetooth Proxy (ESPHome)
- Sonoff NSPanel - eWelink or ESPHome
Additional Resources
- Official Tasmota Documentation
- Tasmota Web Installer
- Templates Database
- Tasmota Discord - active community
- Tasmota GitHub - source code