ZHA (Zigbee Home Automation)
ZHA is one of the integrations into Home Assistant that allows you to run a Zigbee mesh network for a smart home. It supports Zigbee 3.0, as well as previous older versions.
I assume you are already familiar with the basics of Zigbee and so you should start by choosing a coordinator suitable for ZHA.
Choosing a Coordinator - Recommended Hardware
ZHA uses the zigpy library, which makes ZHA theoretically compatible with all Zigbee coordinators (radios) that this library supports.
1. Coordinators Based on EmberZNet from Silicon Labs - EZSP (Recommended)
The best choice currently is coordinators based on EFR32MG21 and EFR32MG24 chips using the EZSP protocol. These chips support both Zigbee and Thread protocols. Products with these chips are also used by the creators of Home Assistant.
Coordinators with EFR32MG24 chip (latest generation)
The MG24 chip offers higher performance, better range, and improved stability compared to the previous MG21 generation.


Home Assistant Connect ZBT-2
USB adapter - USB Zigbee/Thread coordinator for Home Assistant (ZHA/Thread), model NC-ZBT-9741, SoC Silicon Labs MG24 + ESP32-S3 (USB-UART), support for Zigbee 3.0 and Thread/Matter-over-Thread (in HA), USB-C connection, power supply 50 m frequency 5 V 2400–2483.5 MHz, omnidirectional antenna 4.16 dBi (Ø24 × 164 mm), CE/FCC/RCM certification, FCC-ID 2A8ZE04, device dimensions 83 × 83 × 179 mm, weight 157 g, polycarbonate housing, operation 0–65 °C, 0–65 °C, operation 0–65 °C indoor use, requires Home Assistant 2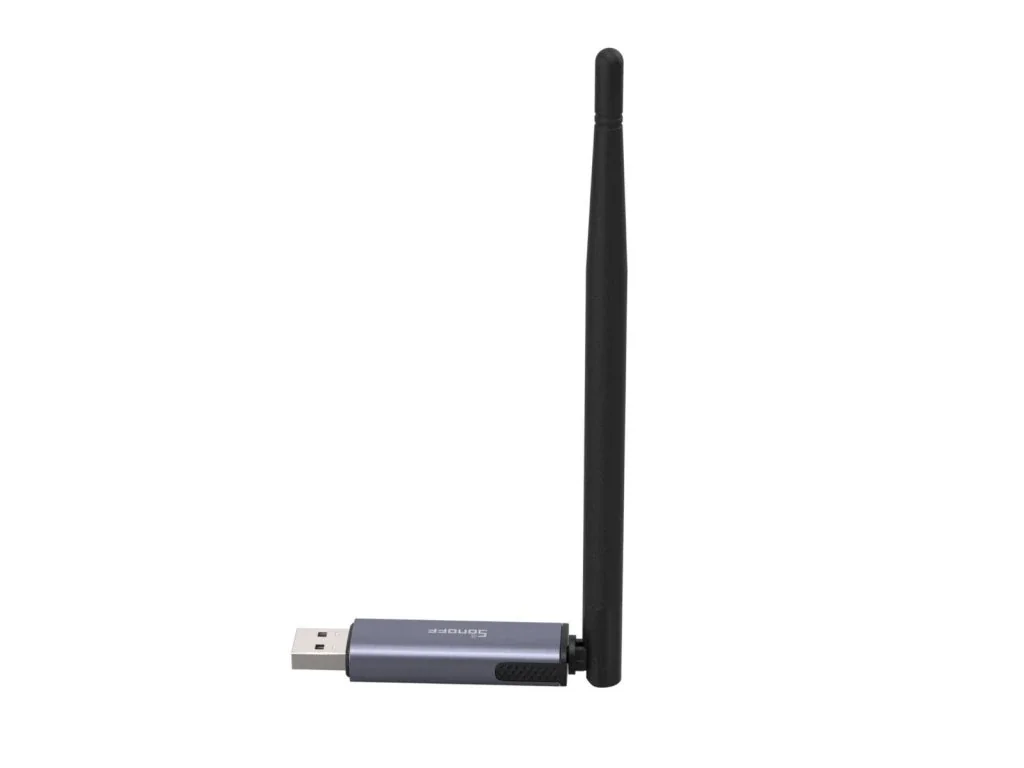
Sonoff Dongle Plus MG24 Zigbee/Thread
Power with the advanced EFR32MG24 chip, offering richer resources and higher performance to deliver faster automation processing and stable sub-device control. Default 3dBi antenna gain, optimized up to 4.5dBi for stronger signal strength and wider coverage.Coordinators with EFR32MG21 chip (previous generation)
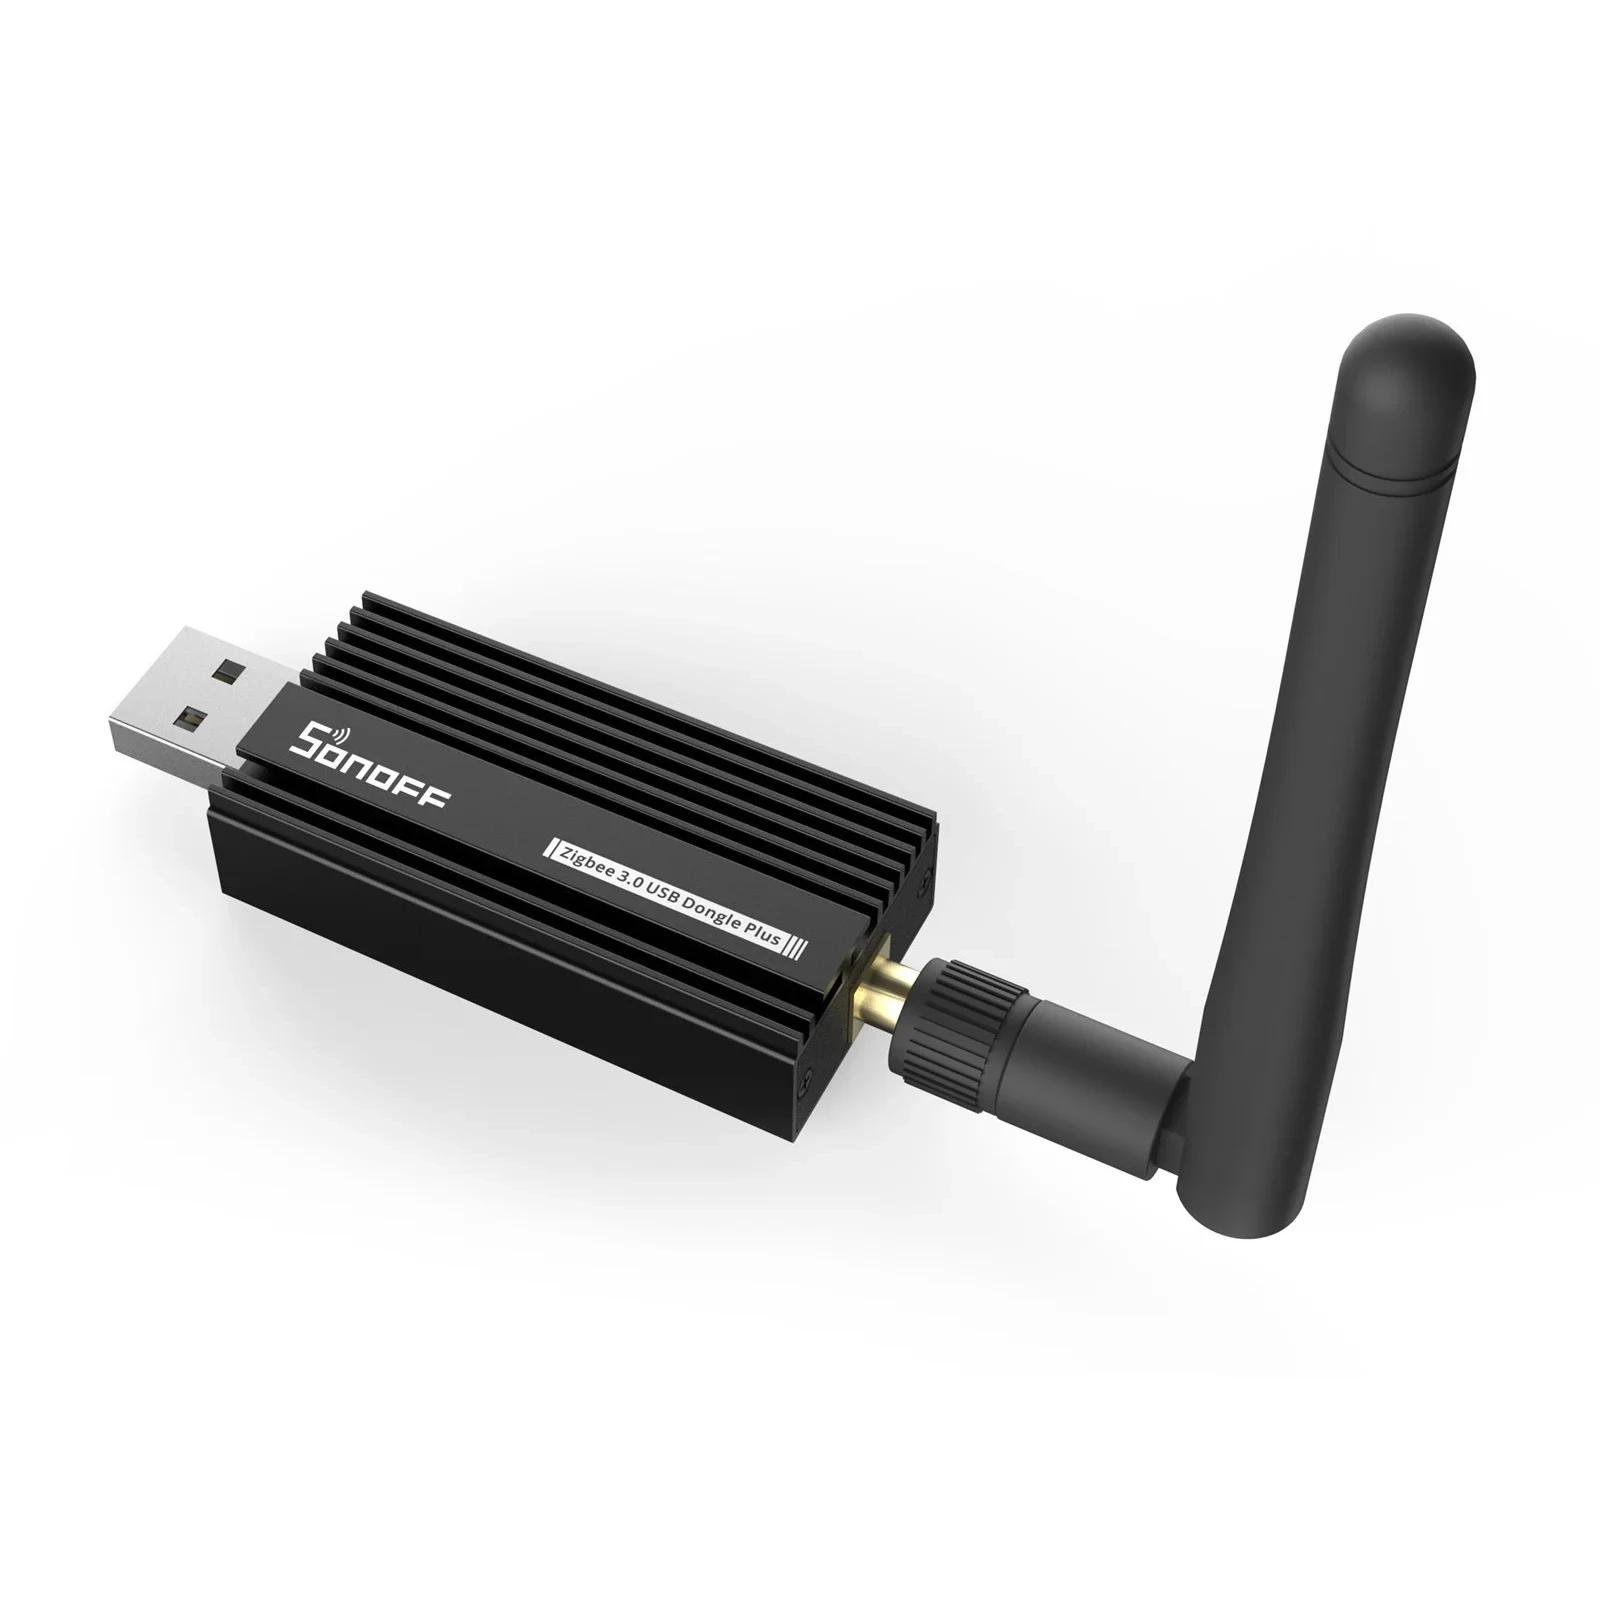
Sonoff Zigbee 3.0 USB Dongle Plus E
USB adapter for connecting Zigbee devices to smart home. With EFR32MG21.I currently use the original ZBT-1 (SkyConnect) with the MG21 chip, which I have set up for Zigbee. The new ZBT-2 with the MG24 chip offers an improved antenna and better range.
2. Coordinators Based on deCONZ from Dresden Elektronik - DECONZ (Legacy)
ConBee II and RaspBee II are now considered legacy hardware. For new installations, we recommend EFR32MG21-based coordinators (EZSP) instead.
Phoscon ConBee III
USB adapter for connecting Zigbee devices to smart home, German-made 3rd generation.3. Coordinators from Texas Instruments - ZSTACK
The oldest chips, which I recommend only if you really want to save money. Firmware flashing is required, so they are not suitable for regular users.
- CC2652P/R/RB USB dongle with flashed Z-stack coordinator firmware
- CC1352P/R USB dongle with flashed Z-stack coordinator firmware
In the past, I used the CC2531, which is now outdated and its range was not the best. Currently, I do not use any product from this range.
Updating Firmware of EZSP Coordinators
This chapter only applies to EZSP coordinators. If you plan to or have another one, you can skip it and continue with the next Coordinator Installation.
The new version offers faster response and improved network stability.
EZSP Sonoff Dongle Plus E or Sonoff Dongle Plus MG24
-
Connect the adapter to the computer via USB.
-
Make sure no application or process is using this adapter on the computer.
-
Open a Chrome-based browser and go to nabucasa.github.io/silabs-firmware-builder
-
Find your adapter - for Sonoff Dongle Plus E (EFR32MG21), you need to find out the version 1.1 or 1.2 - it is written directly on the adapter board. For Sonoff Dongle Plus MG24, select the appropriate model with the EFR32MG24 chip.
-
Click Connect and after a while, a dialog with your version and the latest available should appear. Click Upgrade.

-
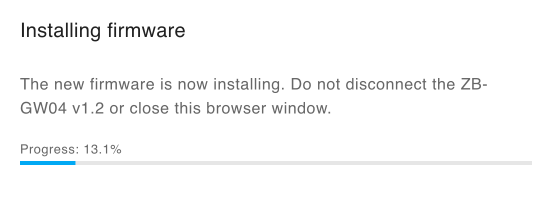
The new firmware starts installing - do not disconnect the adapter or turn off the computer!
-
Done!
EZSP Home Assistant ZBT-1 (SkyConnect) or ZBT-2
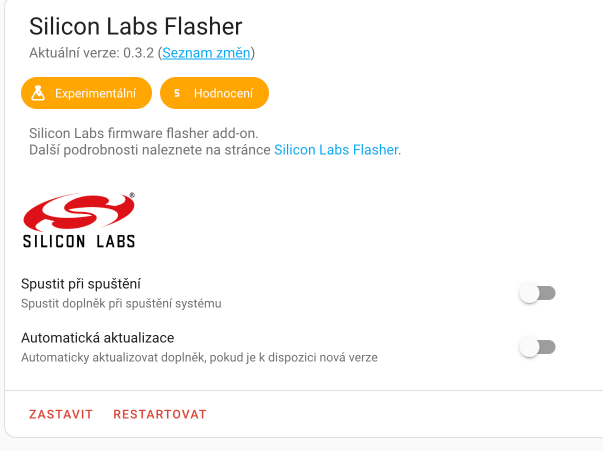
I recommend updating via the Silicon Labs Flasher add-on.
-
Install the Silicon Labs Flasher add-on
-
Disable the ZHA integration or turn off Zigbee2MQTT depending on what you use.
-
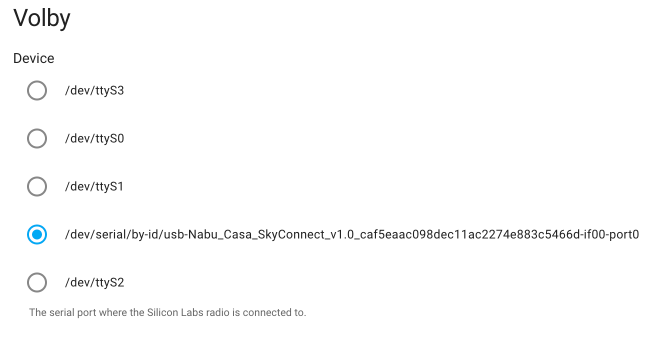
In the add-on settings, select the adapter.
-
Start the add-on and check the logs to see if everything went well. The add-on will turn off automatically.
-
Re-enable ZHA or start Zigbee2MQTT.
-
Done!
Coordinator Installation
I will assume you have chosen one of the USB coordinators, and then the installation is quite simple. Just insert the USB coordinator into one of the USB ports.
In the case of Raspberry, I recommend using USB 2.0 ports (the black ones) and generally, it is better to connect the coordinator to the computer via a USB extension cable - both to reduce interference.
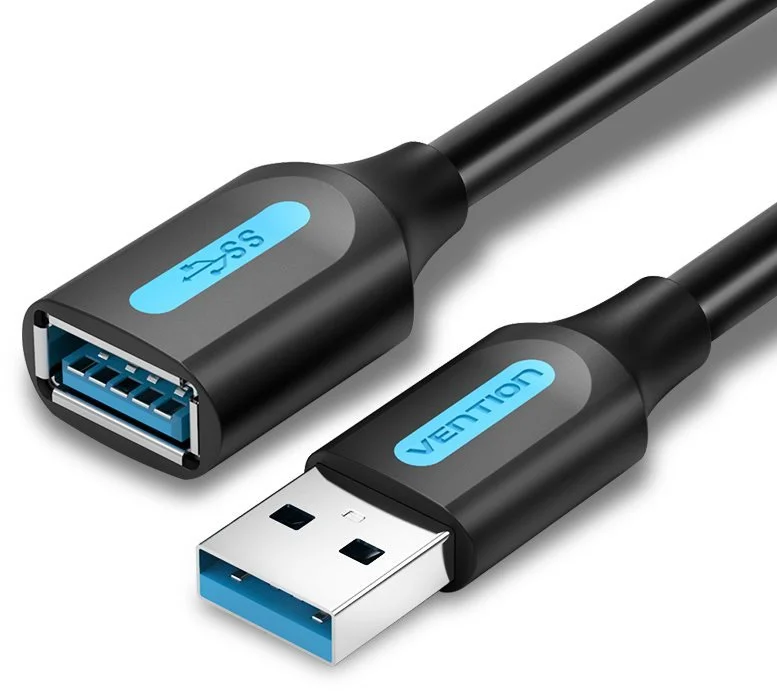
Vention USB 3.0 Male to Female Extension Cable 0.5m Black
USB 3.0 extension cable.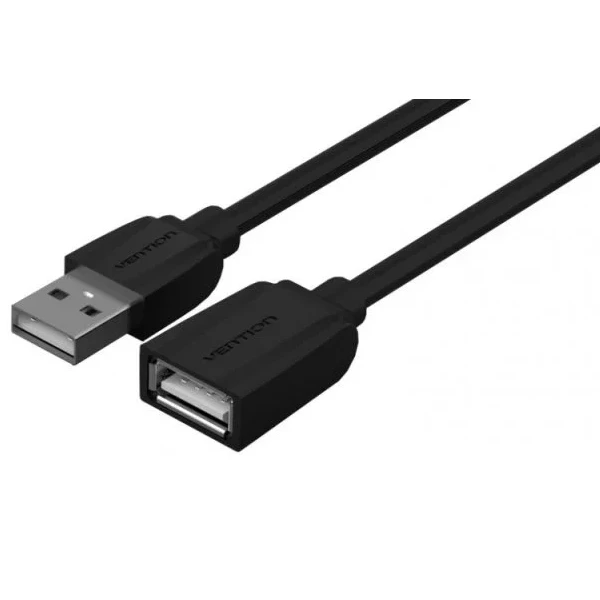
Vention USB 2.0 Extension Cable 0.5m Black
USB 2.0 extension cable.Software Installation in Home Assistant
The installation is quite simple.
-
Insert the selected coordinator into the USB port (ideally on a USB extension cable).
-
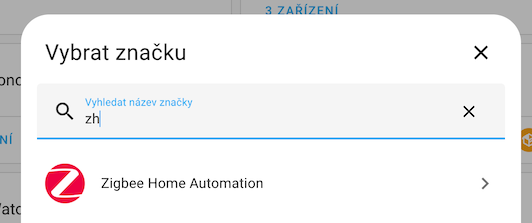
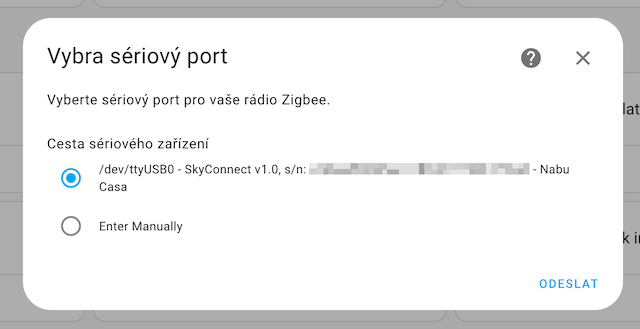
In Home Assistant, choose Settings -> Devices & Services -> Add Integration and search for ZHA.
Or click on:

-
Select the port of your coordinator from the list.
-
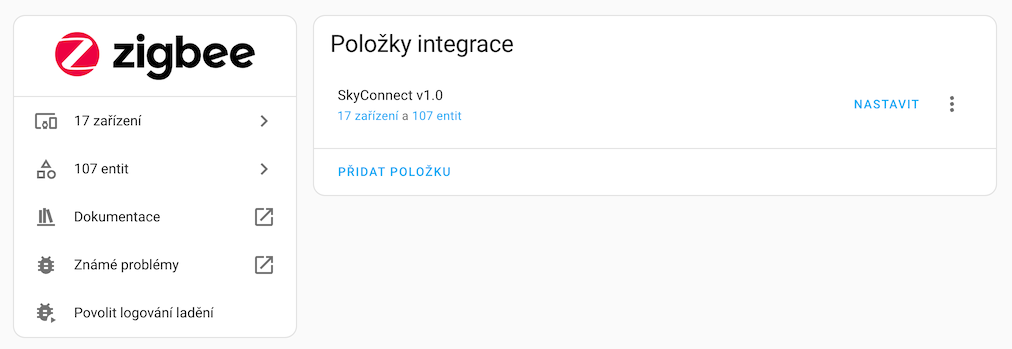
Done! and you can start pairing new devices.
Pairing a New Device
-
Open the menu Settings -> Devices & Services and click on the Zigbee Home Automation item.
-
Select the Configure option.
infoIn the ZHA integration, in the same menu where we have Configure, there is also an Add Device item, which is not used for adding new Zigbee devices, but theoretically more coordinators - which ZHA does not allow.
-
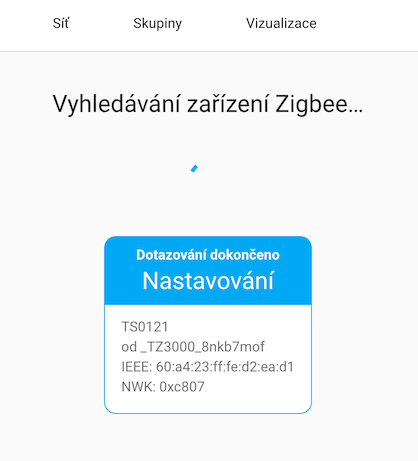
In the bottom right corner, click Add Device.
-
Turn on and activate the pairing mode of the device you want to add.
-
Once the device is found, its setup will begin.
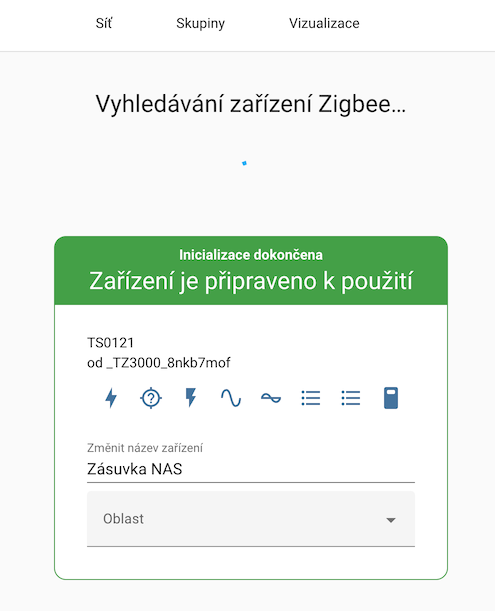
-
Once everything is set up, the device will turn green, and you will see a list of all entities.
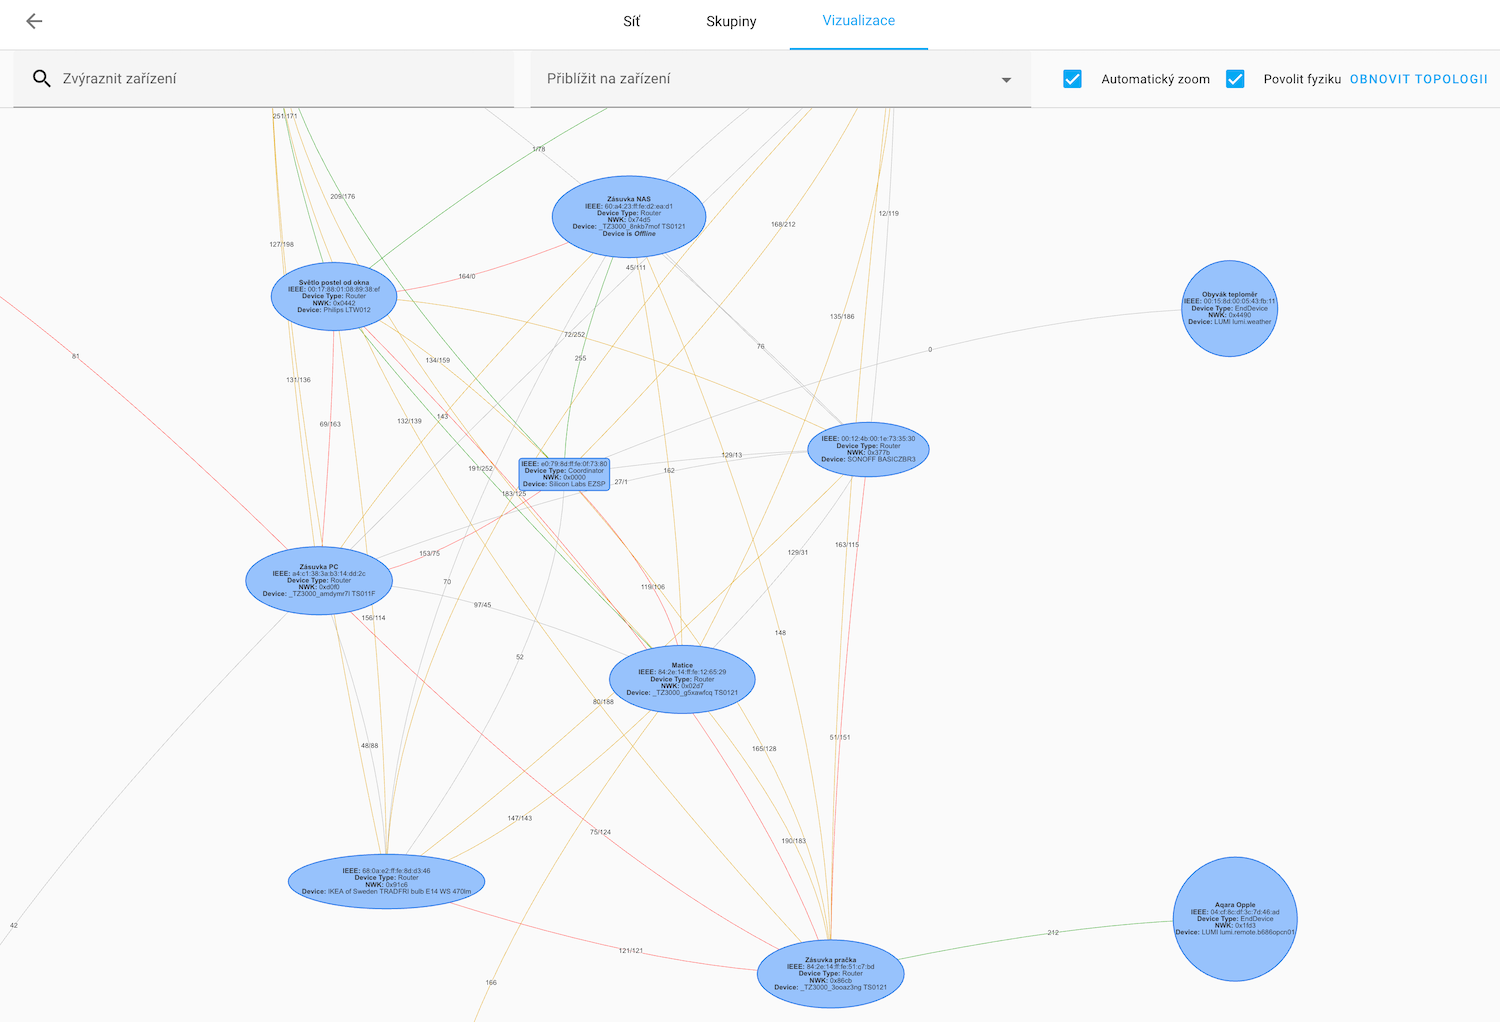
Viewing the Zigbee Network Diagram
Once you have more Zigbee devices, it will become more difficult to keep track of them. Fortunately, ZHA offers a nice visualization diagram where we can see:
- Coordinator - rectangular shape
- Zigbee devices under permanent power - ovals
- Battery-powered Zigbee devices - circles
The diagram is especially useful if some Zigbee devices in the network are not working, and we need to find out why.
Between individual devices, lines of different colors are drawn, representing communication between these devices with the signal strength indicated - the maximum is 255.
Changing the Zigbee Channel
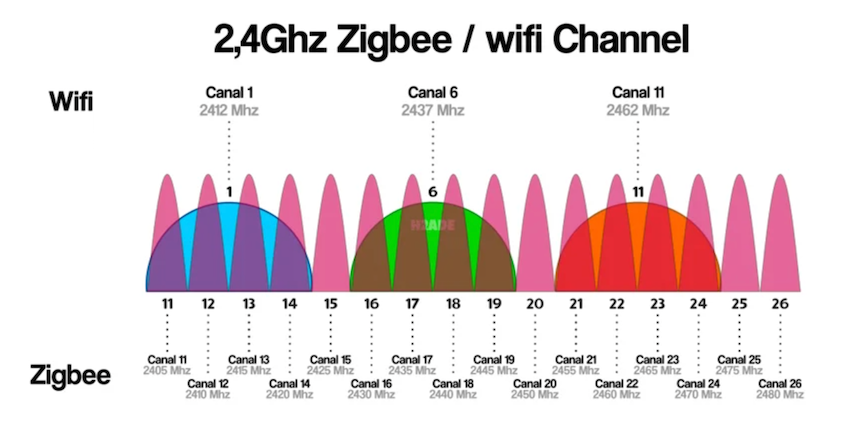
Properly setting the Zigbee network channel is key to minimizing interference from WiFi networks that operate on the same frequency band.
Channel overlap can lead to significant performance degradation of both networks and poor response of individual devices in the smart home. I recommend finding out which channel has the most WiFi networks and choosing the one that is least occupied.
WiFi channels are much wider, so we have only three in the 2.4GHz band, while Zigbee has 16. I recommend choosing channels at the interface of WiFi channels, i.e., Zigbee channels 11, 15, 20, or 25.
Mapping WiFi vs. Zigbee Channels
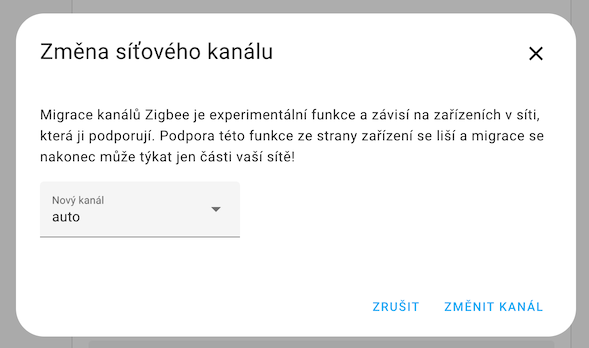
Setting in Home Assistant
-
Open the menu Settings -> Devices & Services and click on the Zigbee Home Automation item.
-
Select the Configure option.
-
In the Network Settings section, click the pencil icon next to the channel.
Configuration Backup
-
Open the menu Settings -> Devices & Services and click on the Zigbee Home Automation item.
-
Select the Configure option.
-
In the Network Settings section, click Download Backup.
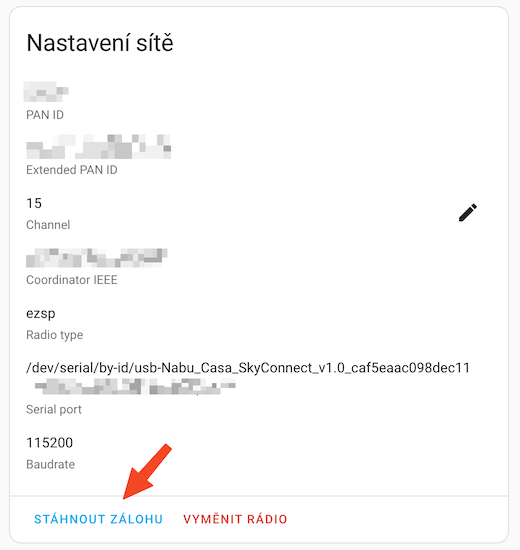
-
Save the generated JSON file to a safe place.
This is a backup directly in ZHA. However, I prefer either backing up the entire HA add-on or backing up the entire VM if Home Assistant is running in it.
Migration Between Coordinators
ZHA supports migration between coordinators without having to re-pair all devices. This is useful when:
- Upgrading to a newer coordinator model
- Moving from one coordinator type to another (e.g., from ConBee to SkyConnect)
- Replacing a faulty coordinator
Migration Process
- Create a backup of your current ZHA configuration (see Configuration Backup)
- In ZHA integration settings, select Configure
- Click on Migrate Radio in the Network Settings section
- Follow the wizard:
- Select source coordinator (current)
- Select destination coordinator (new)
- Confirm migration
- Both coordinators must be connected during migration
- The process can take 10-30 minutes depending on network size
- Do not interrupt the migration process
- Some devices may need to be re-paired if migration fails for specific devices
Supported Migration Paths
- EZSP → EZSP - fully supported
- DECONZ → EZSP - supported with limitations
- ZNP → EZSP - supported with limitations
Migration to EZSP (EFR32MG21) coordinators generally has the best success rate.
OTA Firmware Updates
ZHA supports Over-The-Air (OTA) firmware updates for Zigbee devices. This allows you to update device firmware without manually connecting them to a computer.
Enabling OTA Updates
- In ZHA integration settings, select Configure
- Enable OTA Updates in the integration options
- ZHA will automatically check for available firmware updates
Updating a Device
When a firmware update is available:
- Go to Settings → Devices & Services
- Find the device in ZHA integration
- Click on the device
- If an update is available, you'll see an Update button
- Click Install to start the OTA update
- OTA updates can take 10-60 minutes per device
- Device must remain powered during the update
- Router devices (mains-powered) can relay updates to other devices
Zigbee Groups and Binding
Zigbee Groups
Groups allow you to control multiple devices simultaneously at the Zigbee protocol level (faster than Home Assistant groups).
Creating a Zigbee Group:
- In ZHA integration, select Configure
- Go to Groups tab
- Click Add Group
- Name the group and select devices
- The group will appear as a new entity in Home Assistant
Benefits:
- Commands sent to the group are executed simultaneously
- Lower latency than Home Assistant groups
- Works even if Home Assistant is offline (for bound switches)
Binding
Binding creates a direct connection between two Zigbee devices (e.g., a switch and a light), allowing them to communicate without Home Assistant.
Creating a Binding:
- Open the device page for the controller (switch/remote)
- Click Manage Zigbee Device
- Select Binding tab
- Choose the target device or group
- Select the cluster (e.g., "OnOff" for lights)
- Click Bind
Benefits:
- Devices work even if Home Assistant is down
- Lower latency (direct device-to-device communication)
- Useful for critical lighting controls
Binding is particularly useful for physical switches controlling lights - they'll work instantly even during Home Assistant restarts.