Deconz
deCONZ is a universal solution for running a Zigbee mesh network for a smart home from the German company Dresden Elektronik. It can be operated both within Home Assistant and completely standalone. It offers a combination of hardware - coordinators - and software.

I assume you are already familiar with the basics of Zigbee and so you should start by choosing a coordinator suitable for deCONZ.
Choosing a Coordinator - Recommended Hardware
Unlike other Zigbee solutions, deCONZ can only be operated with coordinators from the same company, which is a certain disadvantage. On the other hand, these are some of the best coordinators with trouble-free operation.


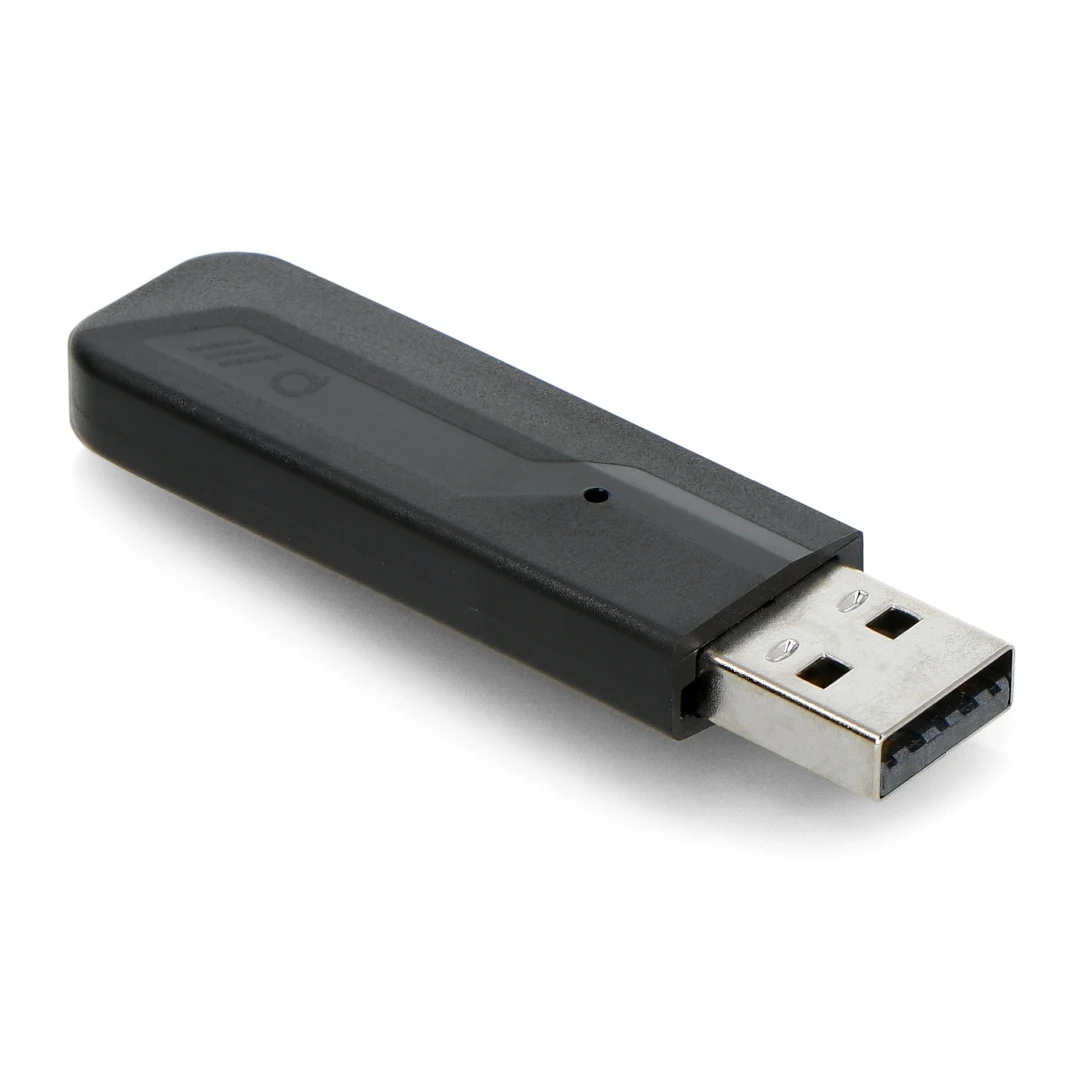
Phoscon ConBee III
USB adapter for connecting Zigbee devices to smart home, German-made 3rd generation.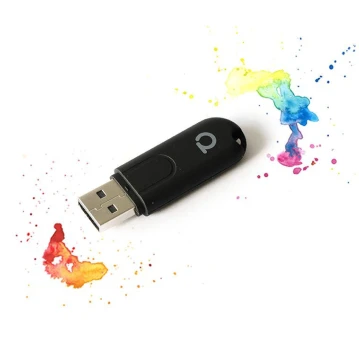
Phoscon ConBee II
USB adapter for connecting Zigbee devices to smart home, German-made 2nd generation.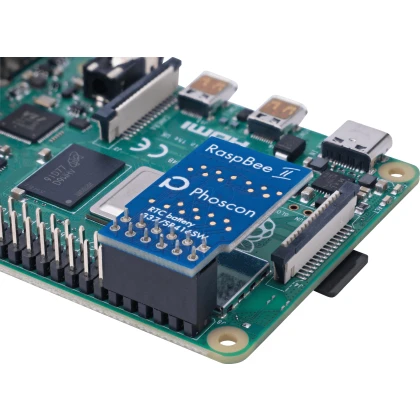
Phoscon RaspBee II
Zigbee adapter for Raspberry Pi connectable via GPIO pins.I have both II generation products from deCONZ, but if you don't have a specific reason, I recommend ConBee III today, which you can place further from the Raspberry using a USB extension cable to reduce interference.
Installing the Coordinator
I will assume you have chosen one of the USB coordinators, and then the installation is quite simple. Just insert the USB coordinator into one of the USB ports.
In the case of Raspberry, I recommend using USB 2.0 ports (the black ones) and generally, it is better to connect the coordinator to the computer via a USB extension cable - both to reduce interference.
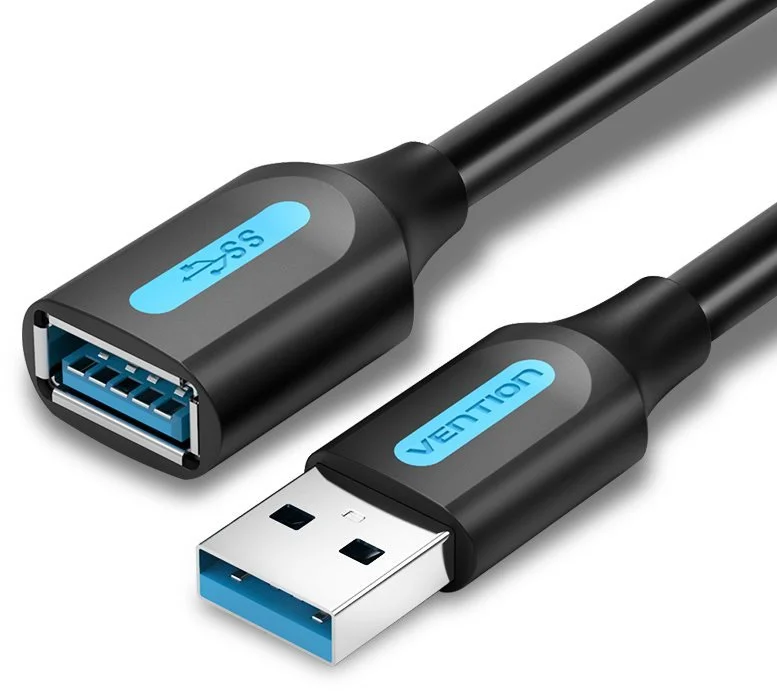
Vention USB 3.0 Male to Female Extension Cable 0.5m Black
USB 3.0 extension cable.
Vention USB 2.0 Extension Cable 0.5m Black
USB 2.0 extension cable.Installing Software in Home Assistant
We will want to install deCONZ for use in Home Assistant, so we will use the HA add-on. However, if you want to have it more separated, I recommend another method - for example, directly into Docker.
1. Installing the HA deCONZ Add-on
-
Insert the selected coordinator into the USB port (ideally on a USB extension cable).
-
In Home Assistant, choose Settings -> Add-ons -> Add-on Store and find deCONZ in the list and click Install.

-
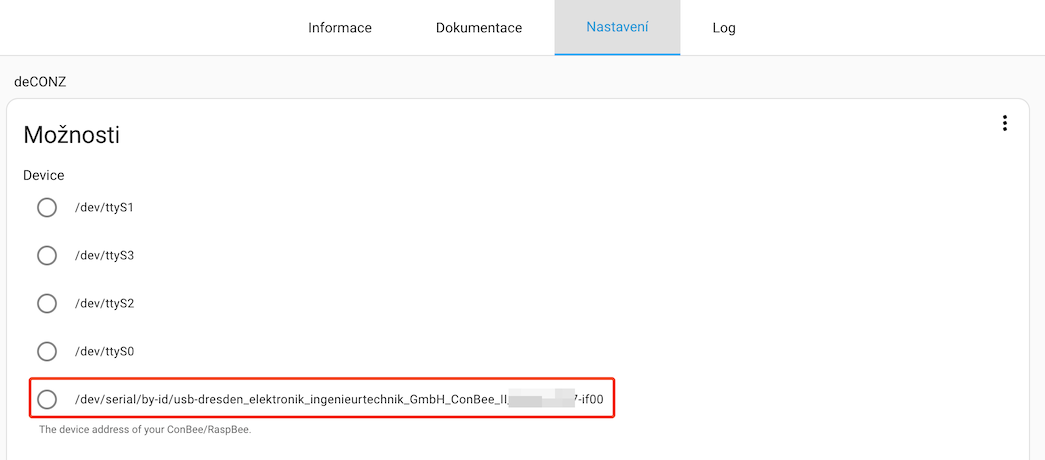
Select the port of your coordinator from the list and save.
-
Add the add-on to the sidebar and start it.
-
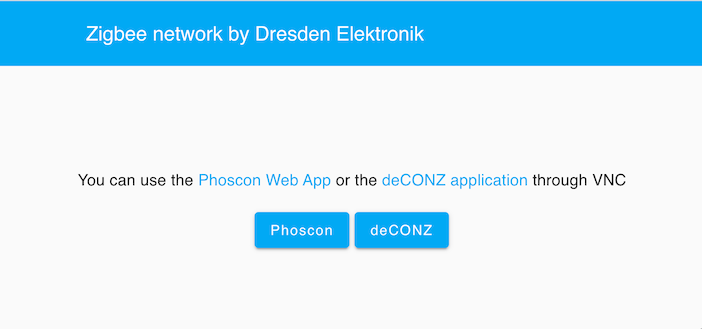
Through the icon in the sidebar, we now have access to two applications:
- Phoscon Web App - mainly used for pairing and control (as an alternative to control directly from Home Assistant). You can also set basic Zigbee network parameters here.
- deCONZ application - used for more detailed settings and viewing the Zigbee network diagram.
-
Done! - partially. We are ready to add new Zigbee devices, but we will not see them in Home Assistant yet.
2. Integration into Home Assistant
-
In Home Assistant, choose Settings -> Devices & Services -> Add Integration and search for deCONZ.
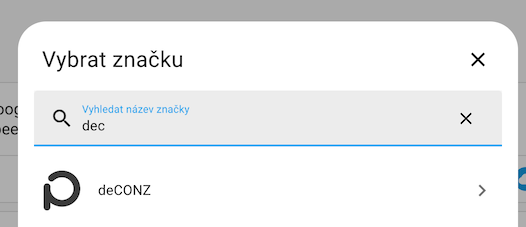
Or click on:

If you have the deCONZ add-on installed and running, Home Assistant should automatically discover the deCONZ gateway. In that case, a notification about the found device will appear, which you just need to confirm.
-
Select the discovered gateway from the list.
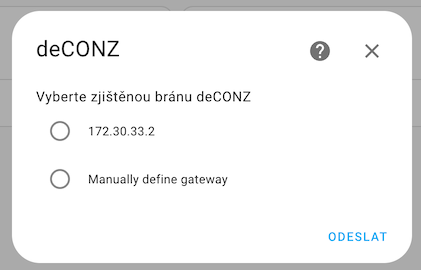
-
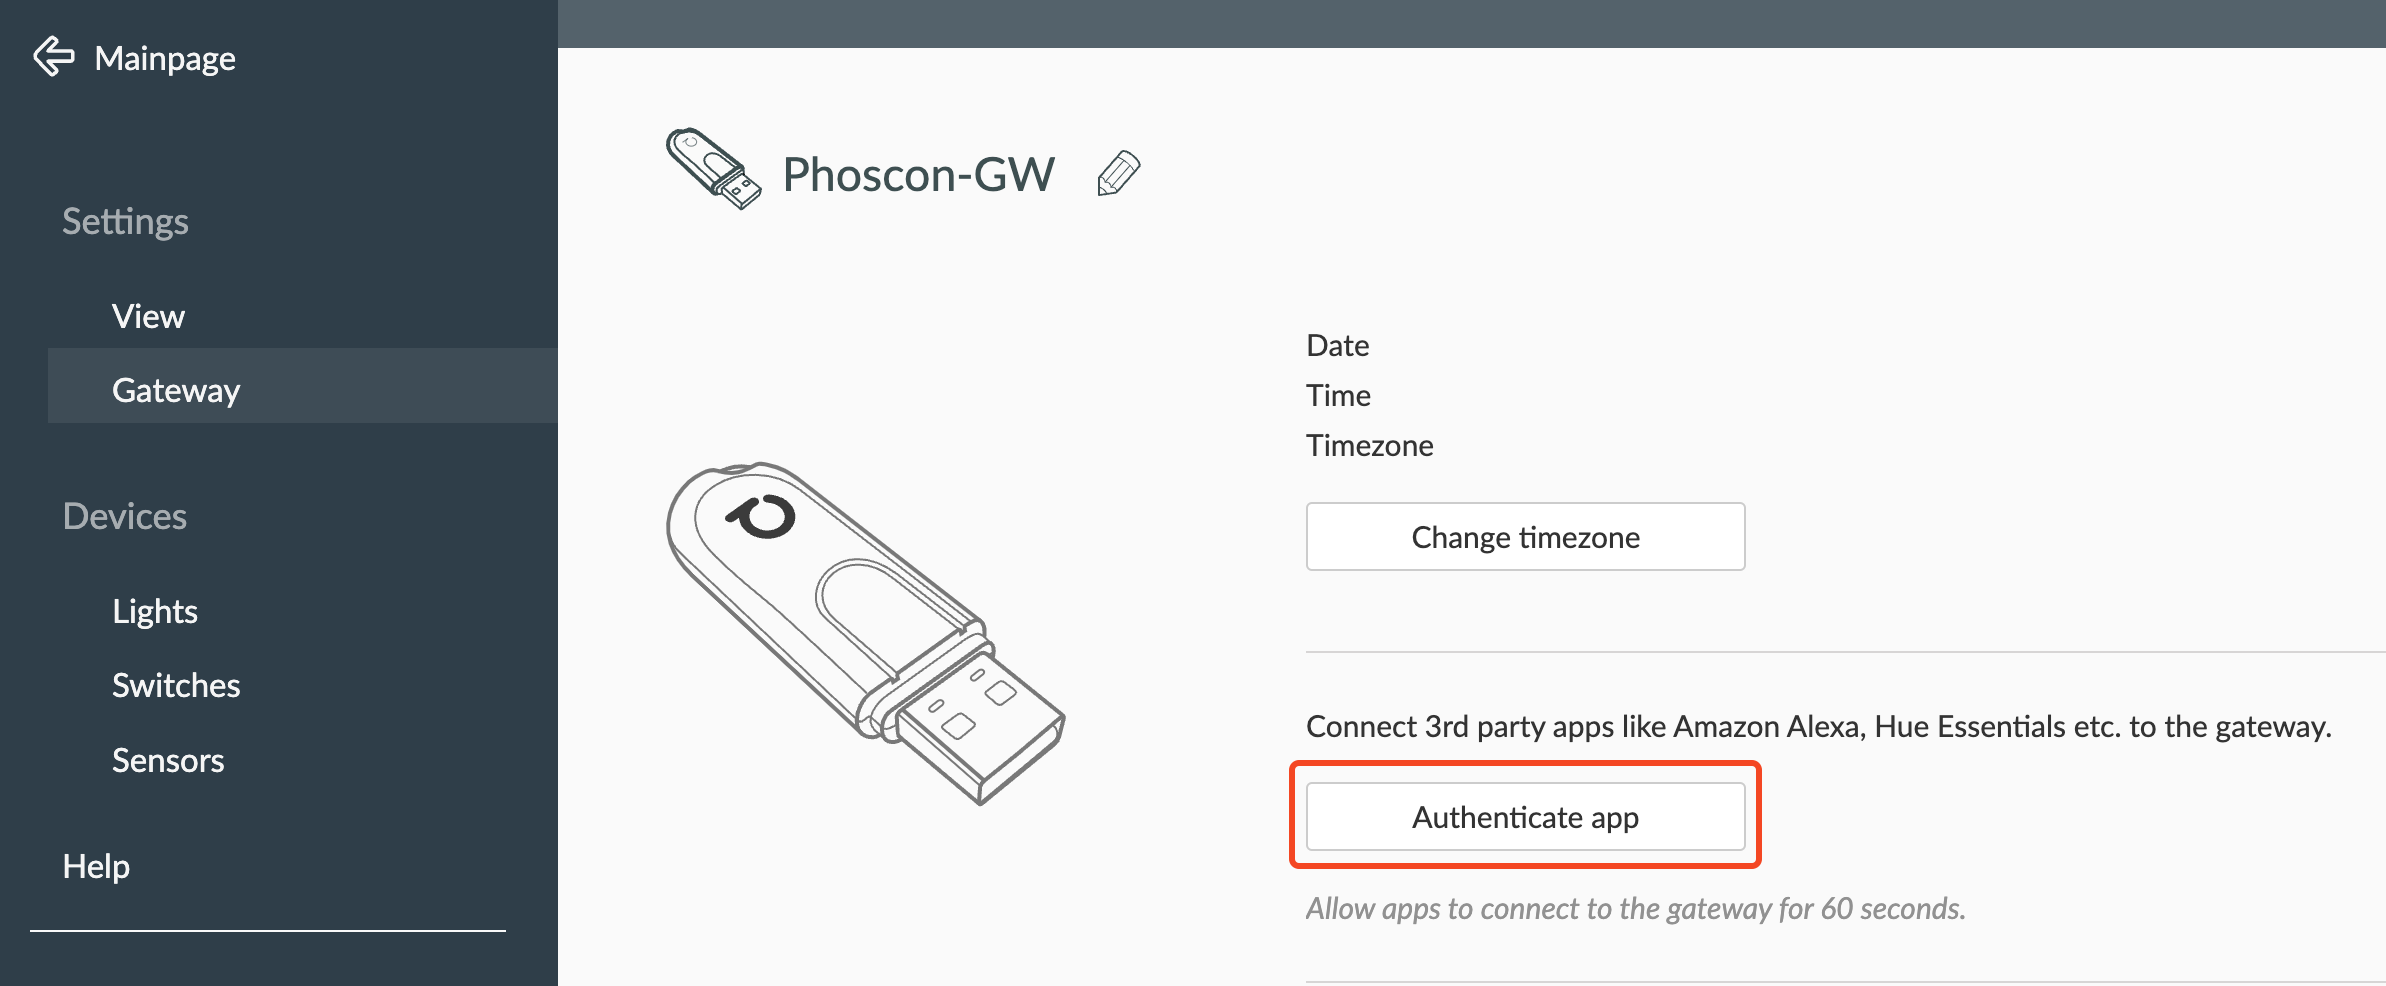
You will need to switch the gateway to integration mode with other systems.
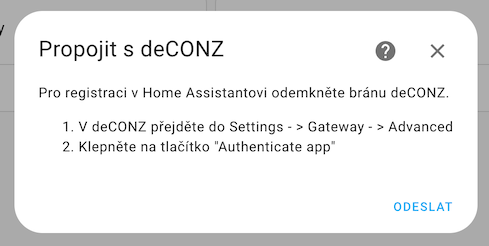
To do this, open the Phoscon Web App from the sidebar, create an account in Phoscon if you don't have one yet, skip all dialogs, and in the menu select Settings -> Gateway -> switch to Advanced and select Authenticate app.
-
Return to Home Assistant, confirm the dialog, and you are done.
Pairing a New Device
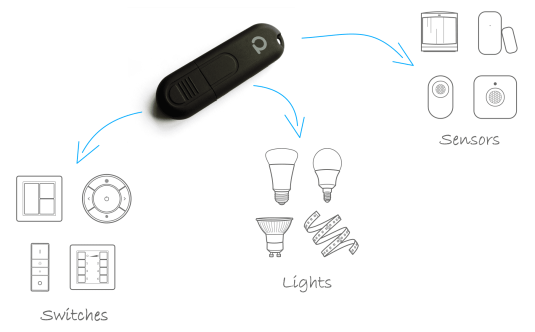
deCONZ is a bit inconvenient in that pairing a new device depends on the category, which are three:
- Sensors - mostly battery-powered sensors.
- Switches - this includes almost all battery-powered devices that are not sensors.
- Lights - should only include lights by name, but this includes almost all devices under permanent power, such as sockets.
Supported Platforms
The deCONZ integration supports the following device types in Home Assistant:
- Alarm Control Panel - alarm and security systems
- Binary Sensor - binary sensors (motion, door/window opening, vibration, water, etc.)
- Button - buttons for triggering actions
- Climate - thermostats and thermostatic valve heads
- Cover - blinds, shutters, and awnings
- Fan - fans
- Light - lights and LED strips
- Lock - locks
- Number - numeric entities for setting values
- Scene - scenes defined directly in devices
- Select - selection entities
- Sensor - sensors (temperature, humidity, pressure, brightness, battery, etc.)
- Siren - sirens
- Switch - switches and smart sockets
-
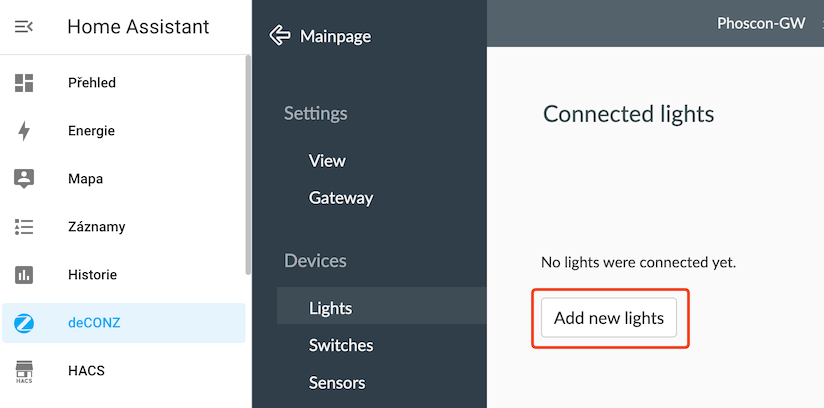
In Home Assistant, click on deCONZ in the sidebar and select Phoscon.
-
Select the hamburger menu in the top left corner and depending on the category above, choose the type of device (Devices) and click on, for example, Add new light.
-
Turn on and activate the pairing mode of the device you want to add.
-
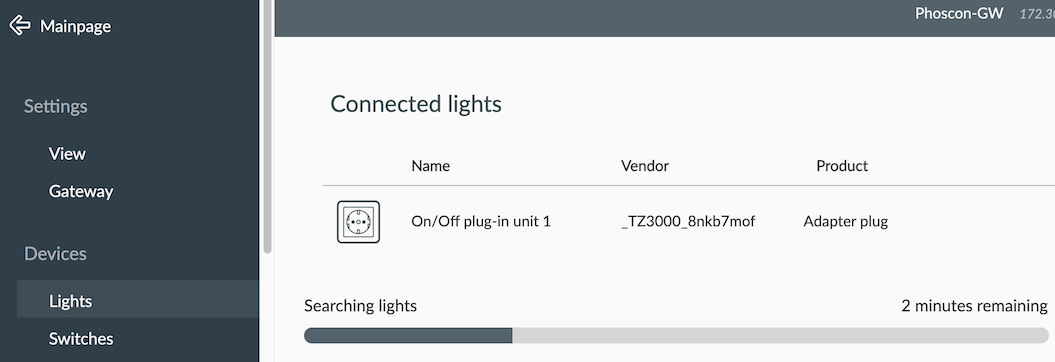
Once the device is found, it will appear in the list - the search runs for 3 minutes, but you can stop it if the desired device is already found.
 Officially Unsupported Products
For example, we managed to find a socket that is not directly supported, so we will only see basic things in Home Assistant - in this case, only the on/off switch.
The list of all supported devices can be found on the manufacturer's website.
Similarly, we can add a sensor - in this case, a motion sensor Aqara from the Chinese company Xiaomi.

Device Control and Triggers
Device Triggers for Remotes
deCONZ provides special events (device triggers) for wireless remotes that you can use in automations. These events capture various button actions:
- Short press
- Long press
- Double press
- Triple press
- Rotation (for remotes with a rotary element)
- Shake (for some remotes)
You can find these triggers when creating an automation in the Device section → select the device → Trigger → available actions for the given button/remote will be displayed.
Device triggers are easier to use than classic events (deconz_event) because they automatically filter the correct device and action, so you don't have to write conditions manually.
Available Services
deCONZ provides several useful services for advanced device management:
deconz.configure
Service for configuring specific device parameters. For example, you can set motion sensor sensitivity or reporting time interval.
service: deconz.configure
target:
  entity_id: binary_sensor.living_room_motion
data:
  field: "/config"
  data: {"sensitivity": 1}
deconz.device_refresh
Refreshes the device state from the deCONZ API. Useful if you believe the state in Home Assistant doesn't match reality.
service: deconz.device_refresh
target:
  device_id: abc123def456
deconz.remove_orphaned_entries
Removes orphaned devices from the deCONZ database - devices that were disconnected but still remain in the system.
service: deconz.remove_orphaned_entries
Daylight Sensor
deCONZ automatically creates a virtual daylight sensor that provides information about sun times (sunrise, sunset, twilight, etc.) based on your location.
You can find this sensor as:
- Binary sensor -
binary_sensor.daylight- indicates whether it is currently day or night - Sensor - contains more detailed information about phases of the day
Useful for automations dependent on time of day, for example:
- Automatic turning on outdoor lighting after sunset
- Activating night mode
- Controlling blinds based on sunlight
For the daylight sensor to work correctly, you need to have the location (geographic coordinates) correctly set in Home Assistant in Settings → System → General.
Viewing the Zigbee Network Diagram
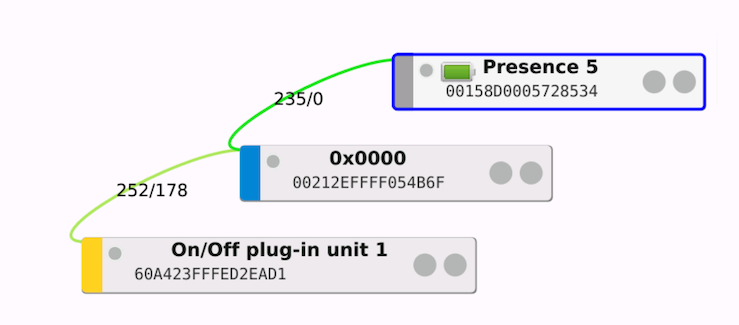
Once you have more Zigbee devices, it will become more difficult to keep track of them. Fortunately, deCONZ offers, in my opinion, the best visualization diagram of all, where we can see:
- Coordinator - with a blue stripe and the name 0x0000
- Zigbee devices under permanent power - with a yellow stripe
- Battery-powered Zigbee devices - with a gray stripe
Between individual devices, lines of different colors are drawn, representing communication between these devices with the signal strength indicated - the maximum is 255.
Changing the Zigbee Channel
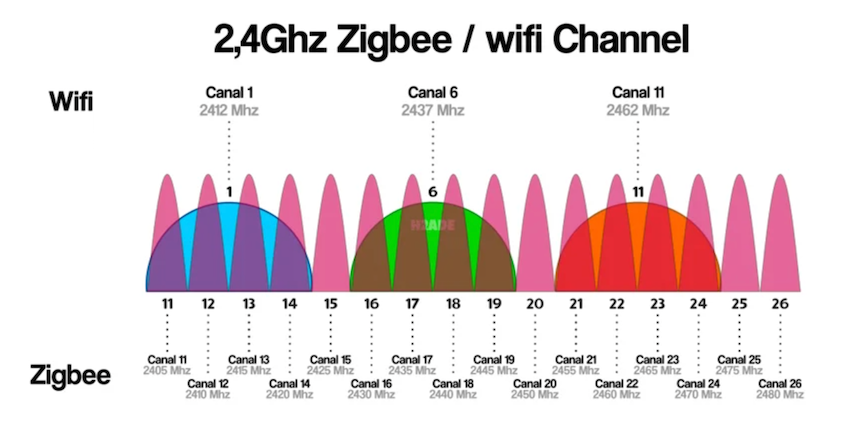
Properly setting the Zigbee network channel is key to minimizing interference from WiFi networks that operate on the same frequency band.
Channel overlap can lead to significant performance degradation of both networks and poor response of individual devices in the smart home. I recommend finding out which channel has the most WiFi networks and choosing the one that is least occupied.
WiFi channels are much wider, so we have only three in the 2.4GHz band, while Zigbee has 16. Deconz simplifies the setting by offering only edge WiFi channels, which usually have less interference.
Mapping WiFi vs. Zigbee Channels
Setting in Home Assistant
-
In Home Assistant, click on deCONZ in the sidebar and select Phoscon.
-
Select the hamburger menu in the top left corner and choose Gateway. and at the bottom change from General to Advanced.
-
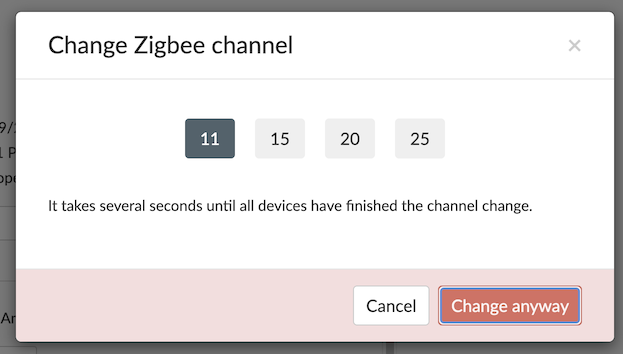
Click the Change Zigbee channel button and select one of the four possible channels from the list.
Configuration Backup
-
In Home Assistant, click on deCONZ in the sidebar and select Phoscon.
-
Select the hamburger menu in the top left corner and choose Gateway.
-
In the menu, click on Backup options and then on Create backup.
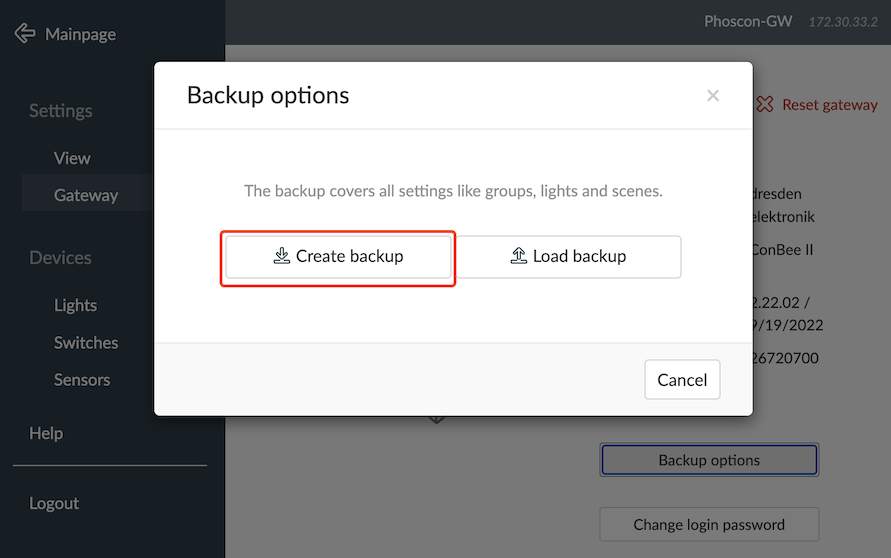
-
Save the generated file to a safe place.
This is a backup directly in deCONZ. However, I prefer either backing up the entire HA add-on or backing up the entire VM if Home Assistant is running in it.